Connecting WhatsApp Cloud API
WhatsApp Cloud API is a direct integration with the WhatsApp API.
Unlike WhatsApp Business API, where connection is established through a provider, Cloud API allows direct access.
The purpose of this tool is to simplify integration for businesses: access can be obtained within 5–15 minutes, without purchasing a server or working through a provider. Developers can build applications using WhatsApp in a more flexible way and improve the speed of processing customer messages.
Creating WhatsApp Cloud API
If you already have WhatsApp Cloud API, proceed to the next section of this article and follow the instructions for connecting it to ChatApp.
If you do not yet have WhatsApp Cloud API, complete the following steps before connecting to ChatApp.
Follow the detailed instructions for creating a Facebook Business Suite account.
If you already have an active company, there is no need to create another one.
Important: The company information must match the information on the company website:
«Name» — must match the official registration documents. For sole proprietors, use the legal format: Individual Entrepreneur Full Name.
«Address Line 1», «City», «State/Province/Region», «ZIP» — must fully match the registered legal address.
«Company phone number» — must belong to the legal entity.
«Company website» — the official website URL. The website domain must match the corporate email domain.
-
Go to the Meta* for Developers website.
-
Click «Get started».
-
Enter your email address.
-
Agree to receive updates and click «Send email».
If you see the error “This email address is already confirmed in your Facebook account”, use a different email or unlink it from Facebook*:
-
Open your Facebook* profile.
-
Click the profile icon.
-
Select «Settings & privacy» → «Settings».
-
Open «Accounts Center».
-
Click «Personal details» → «Contact info».
-
Select the email you want to remove.
-
Click «Remove email» → «Remove».
-
Enter the verification code sent to your email and click «Continue».
-
Select «Developer».
-
Click «Complete registration».
Configuration in Meta Developers
-
Go to Meta* for Developers.
-
Select «My Apps».
-
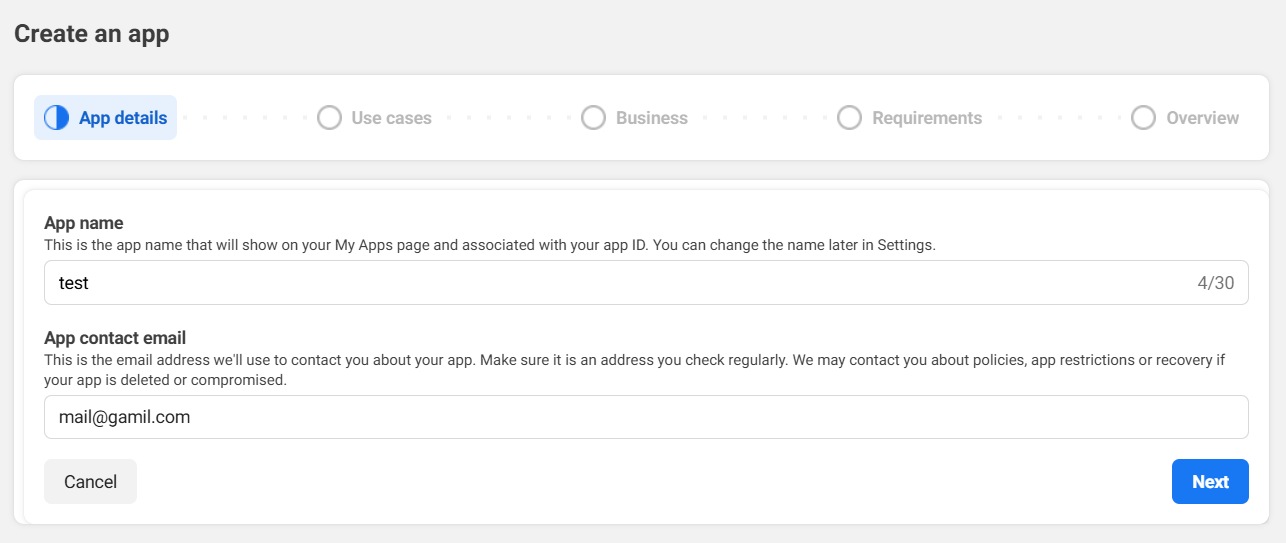
Click «Create App».
-
Enter the app name and email, then click «Next».
-
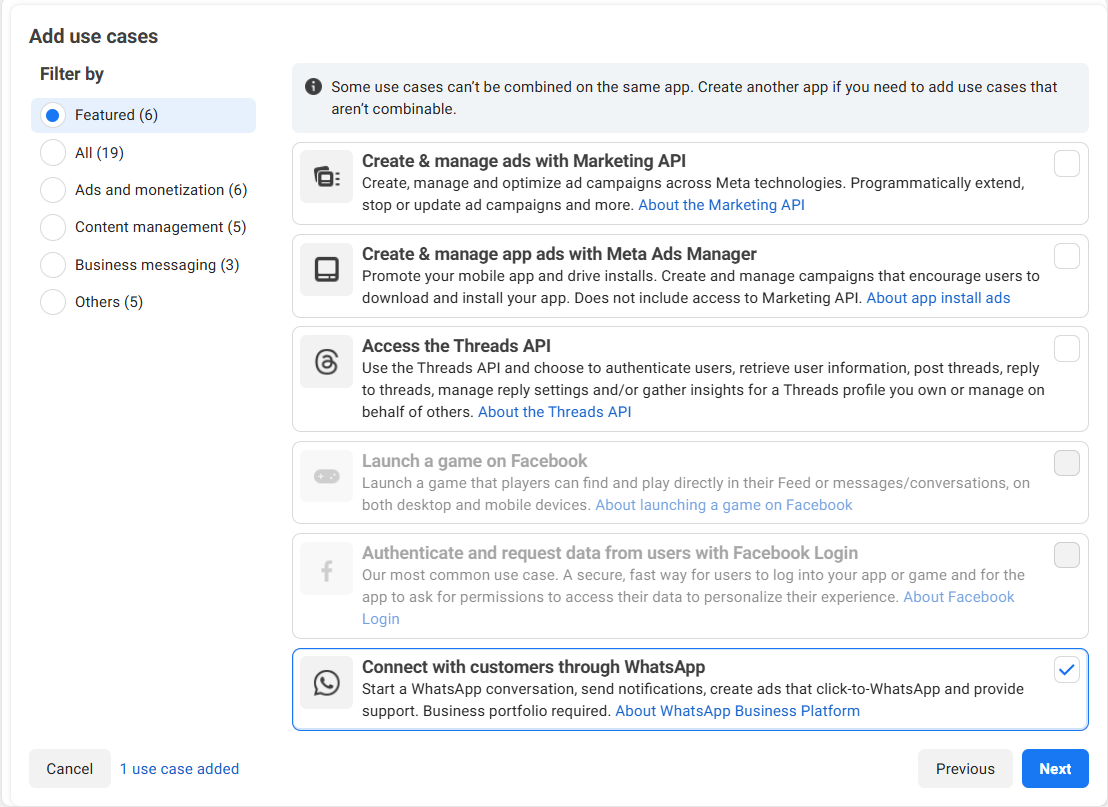
Under «Use cases», select «Communicate with customers on WhatsApp» and click «Next».
-
Select the business portfolio and click «Next».
-
Review the information and click «Go to dashboard».
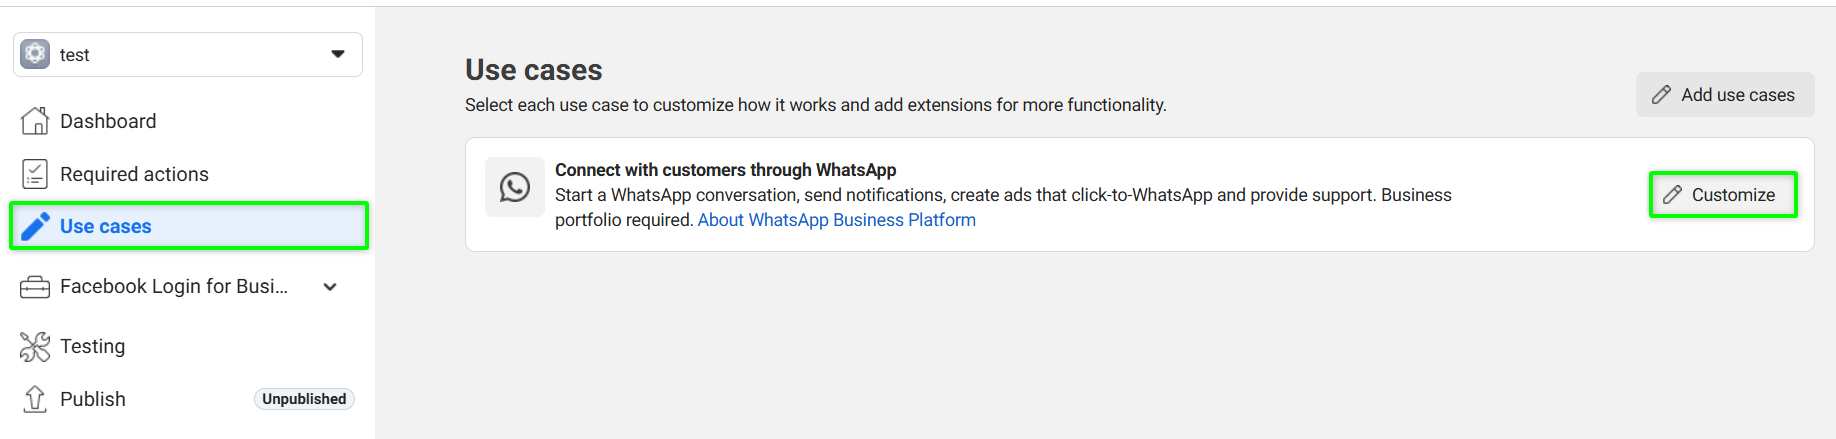
- Open the “Use Case” section, then “Customize”.
-
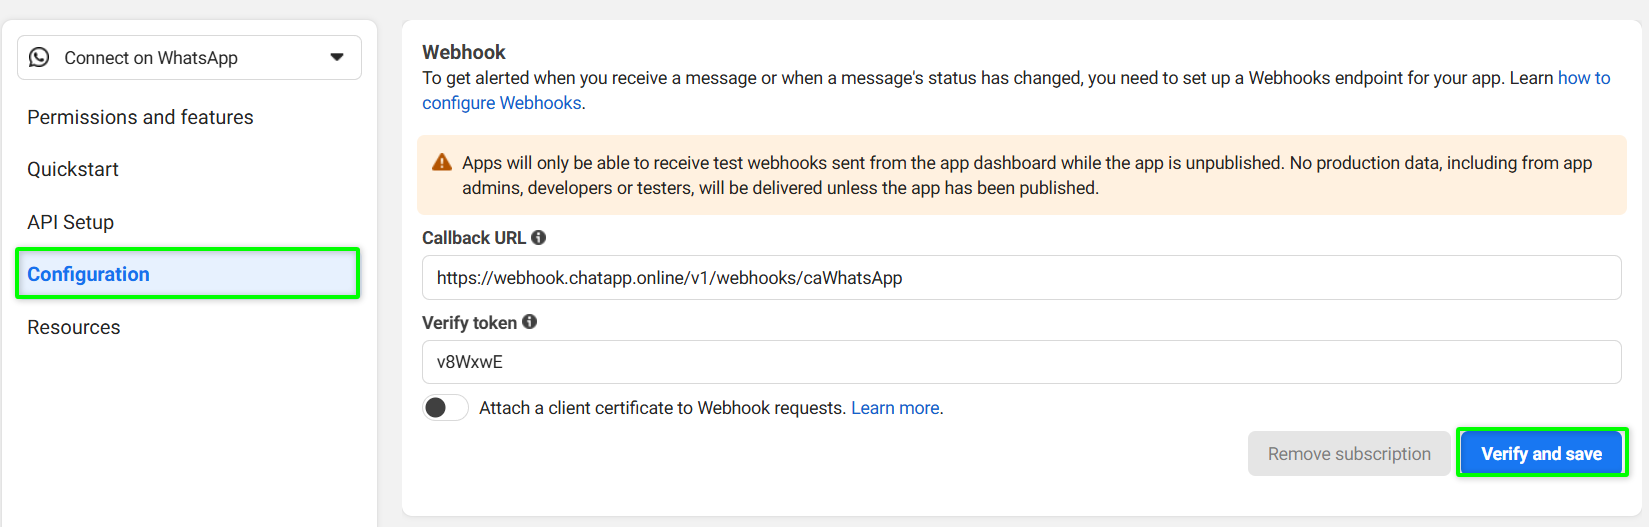
In the left menu, open «Configuration».
In «Callback URL», enter: https://webhook.chatapp.online/v1/webhooks/caWhatsApp
In «Verify token», enter: v8WxwE
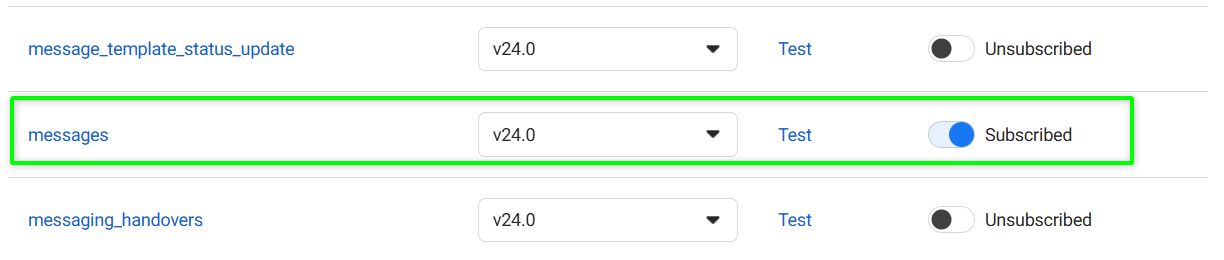
-
Refresh the page and enable the «messages» option.
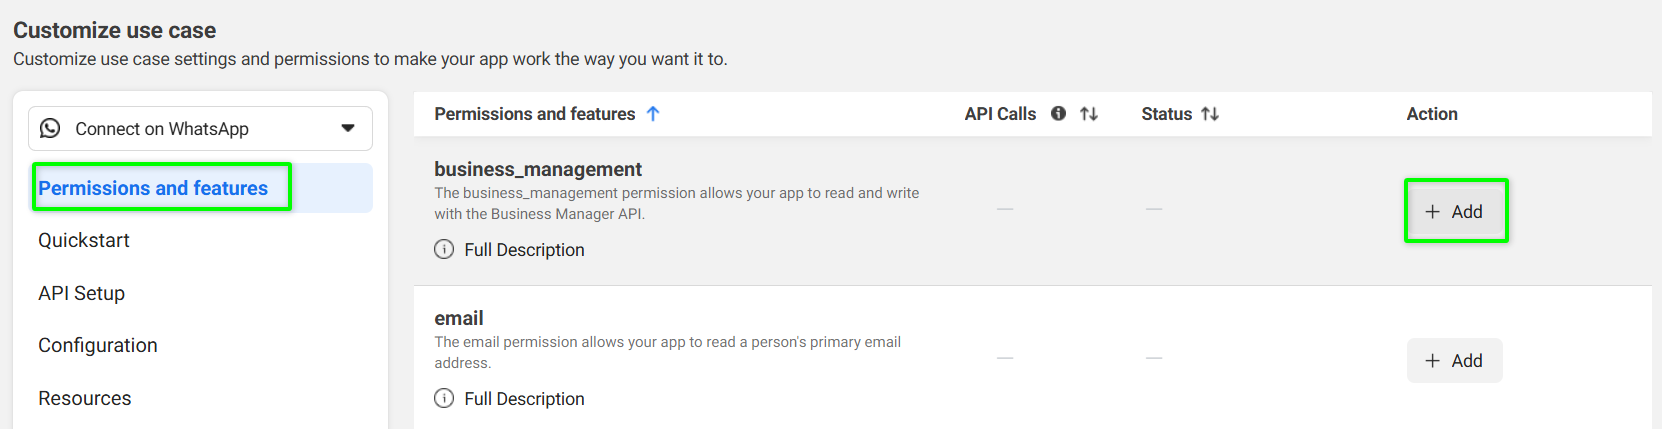
-
In «Permissions and features», add the business_management permission.
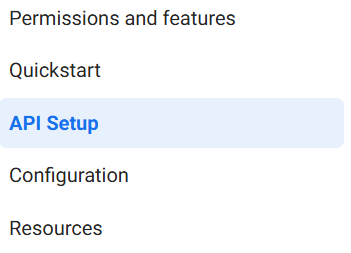
-
Go to «API Setup» and click «Add phone number».

-
Enter Display Name, Time Zone, Category, and Company Description.
-
Enter the phone number — an SMS verification code will be sent.
If you see the error “This number is registered to an existing WhatsApp account…”, use another number or delete the existing WhatsApp account:
-
Open WhatsApp on your phone.
-
Go to «Settings» → «Account» → «Delete account».
-
Enter the number and confirm deletion.
-
Enter the SMS code and click «Next».
We recommend saving the verification code — it may be required later for activation.
-
Go to «API Settings».
-
Click «Add payment method».

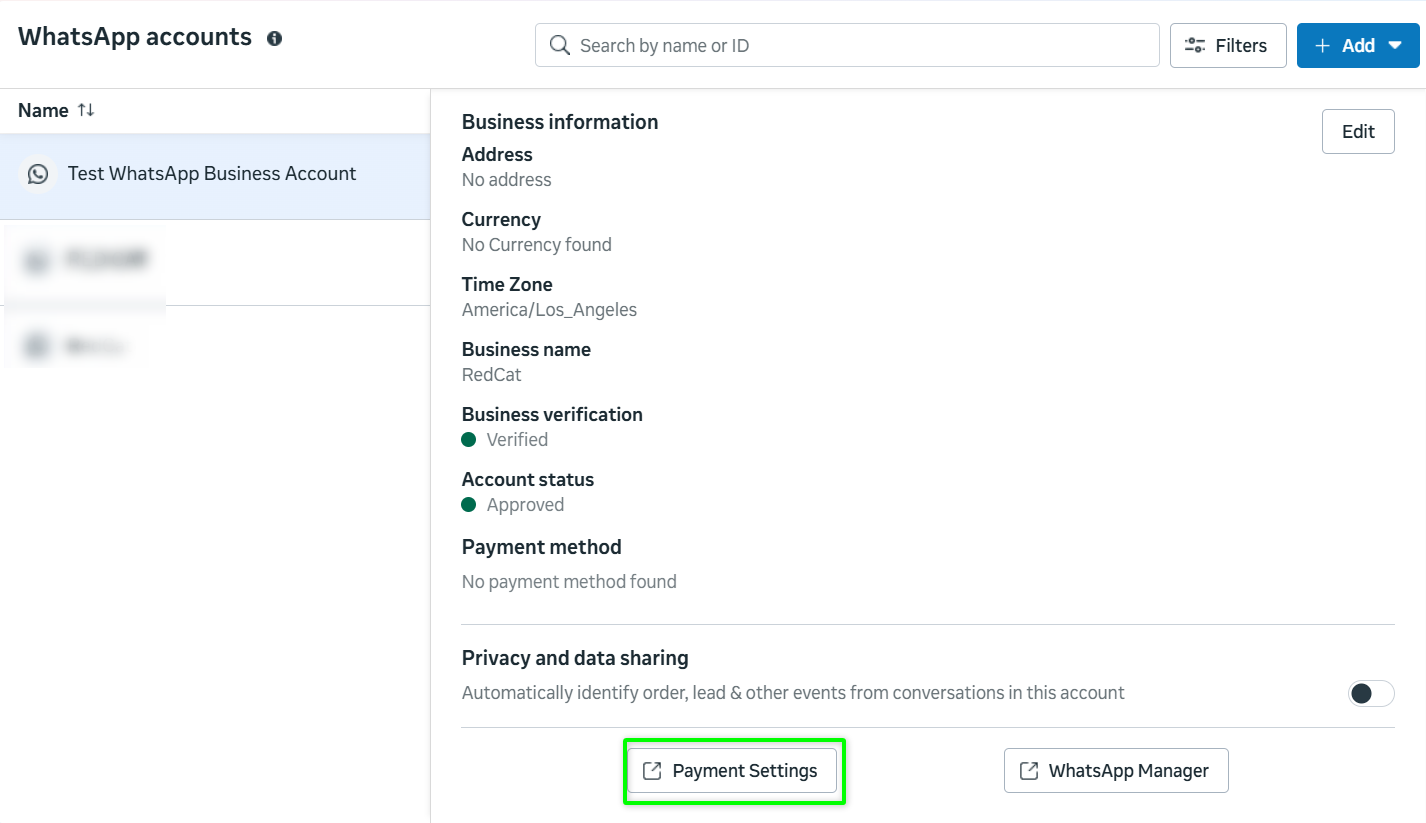
-
Click «Payment settings».
-
Click «Add payment method».

-
Select country, currency, and time zone.
-
Enter your card details and click «Save».
In some cases, the number may enter «Pending» status. To activate it:
- Ensure that a payment method has been added.
- Go to «API Settings».
- Click «Generate access token».

- Complete the steps and select the connected account.
- Send a test message to a personal phone number with WhatsApp installed.
Even if a test message error appears, the number will still be activated.
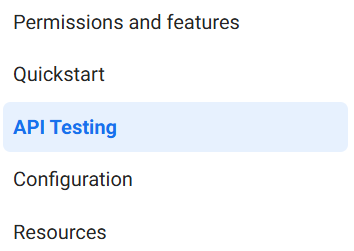
If Only «API Testing» Is Available
If «API Setup» is unavailable and only «API Testing» is displayed, continue configuration using the steps below.
- Open the “Use Case” section, then “Customize”.
-
In the left menu, open «Configuration».
In «Callback URL», enter: https://webhook.chatapp.online/v1/webhooks/caWhatsApp
In «Verify token», enter: v8WxwE
-
Refresh the page and enable the «messages» option.
-
In «Permissions and features», add the business_management permission.
-
Go to «API Setup» and click «Add phone number».
-
Enter Display Name, Time Zone, Category, and Company Description.
-
Enter the phone number — an SMS verification code will be sent.
If you see the error “This number is registered to an existing WhatsApp account…”, use another number or delete the existing WhatsApp account:
-
Open WhatsApp on your phone.
-
Go to «Settings» → «Account» → «Delete account».
-
Enter the number and confirm deletion.
-
Enter the SMS code and click «Next».
We recommend saving the verification code — it may be required later for activation.
-
Go to «API Settings».
-
Click «Add payment method».
-
Click «Payment settings».
-
Click «Add payment method».
-
Select country, currency, and time zone.
-
Enter your card details and click «Save».
In some cases, the number may enter «Pending» status. To activate it:
- Ensure that a payment method has been added.
- Go to «API Settings».
- Click «Generate access token».
- Complete the steps and select the connected account.
- Send a test message to a personal phone number with WhatsApp installed.
Even if a test message error appears, the number will still be activated.
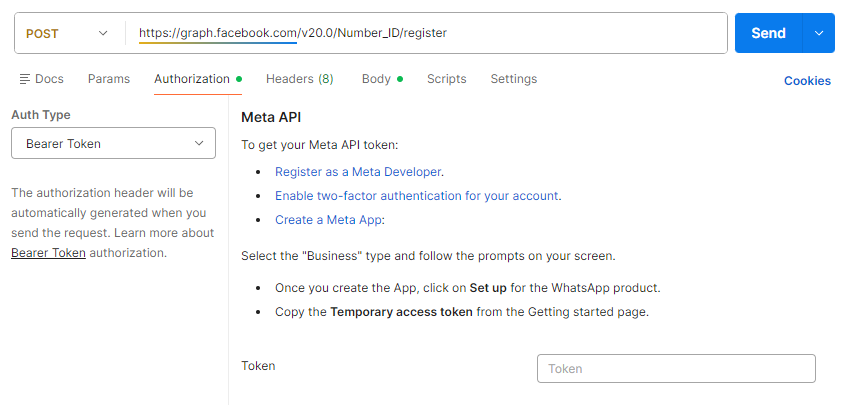
POST https://graph.facebook.com/v20.0/NUMBER_ID/register
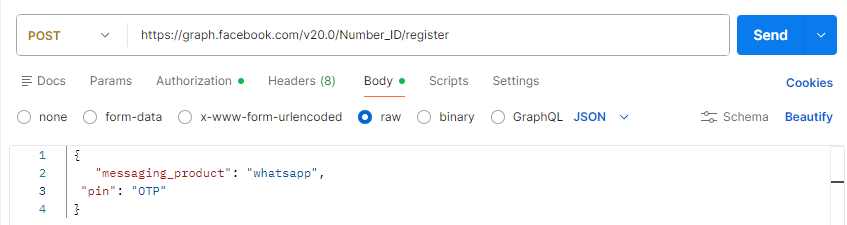
Body:
{
“messaging_product”: “whatsapp”,
“pin”: “OTP”
}
Replace:
-
NUMBER_ID — WhatsApp number ID;

-
Authorization Token — token from Step 8;
-
OTP — the 6-digit verification code.
If the response returns true, activation is successful.
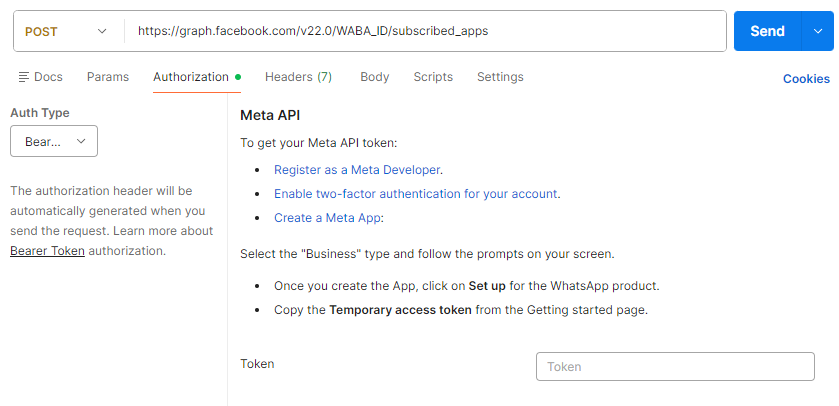
POST https://graph.facebook.com/v22.0/WABA_ID/subscribed_apps
Replace:
-
WABA_ID — WhatsApp Business Account ID;
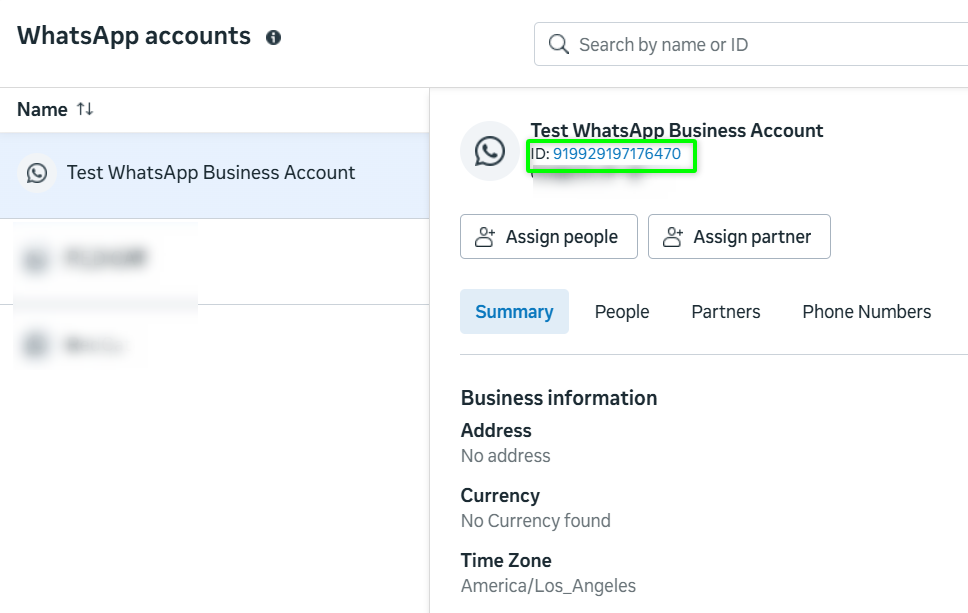
-
Authorization Token — token from Step 8.
If the response returns true, incoming messages are activated.
Configuration in Meta Business Suite
-
Open «System users».
-
Enter the system user name, select «Administrator», click «Create system user».
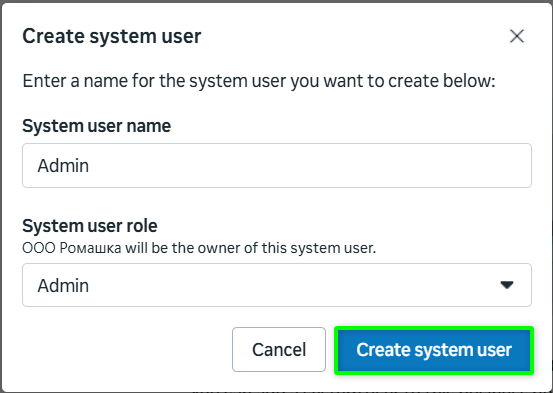
-
Grant the system user full control over the application created in Step 3.
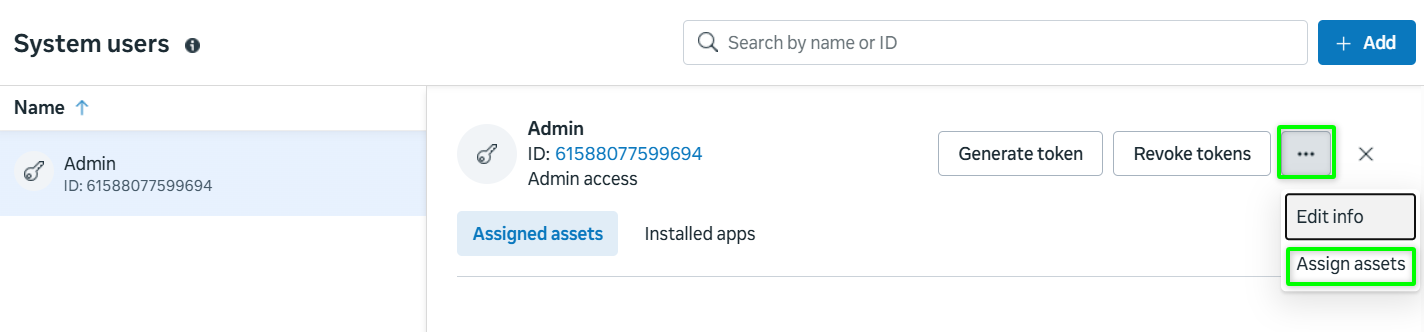
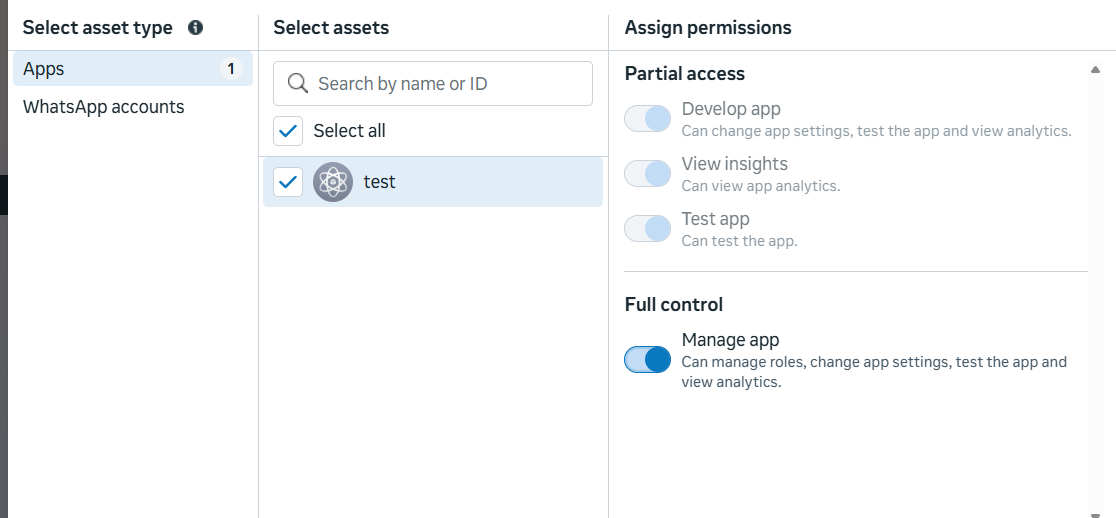
-
In «System users», select the system user and click «Generate token».

-
Select the application.
-
Set token expiration to «Never».
-
Select the required permissions:
business_managementwhatsapp_business_managementwhatsapp_business_messaging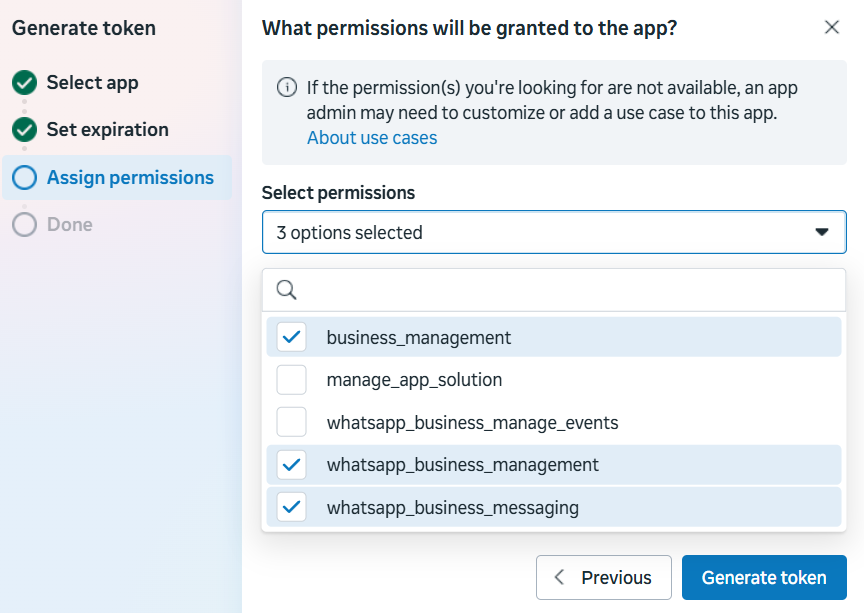
-
Copy and securely store the generated token.
Connecting an additional number does not require:
-
creating a new application in Meta Developers;
-
generating a new authorization token.
Procedure:
-
Open the previously created application.
-
Add a new phone number.
-
Add a payment method.
-
Activate the number if its status is «Under review».
-
Authorize the number in the corresponding ChatApp line.
If the System User Token generated during the initial setup is lost:
- Contact ChatApp technical support and provide the line ID associated with the first WhatsApp Cloud API number.
Without a valid token, connecting an additional number is not possible.
Connecting WhatsApp Cloud API to ChatApp
Step 1. In your personal account, open «Lines» and select the line with the WhatsApp Cloud API channel.

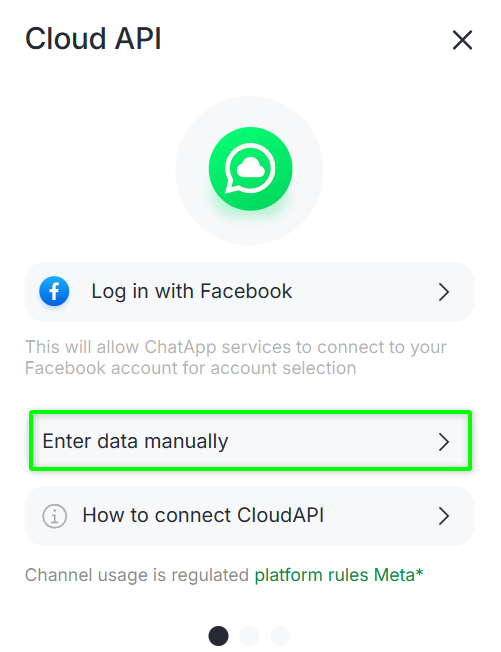
Step 2. In line settings, click «Link» next to WhatsApp Cloud API and select «Enter data manually».
Step 3. Enter:
-
WABA_ID — WhatsApp Business Account ID;

-
NUMBER_ID — WhatsApp number ID;
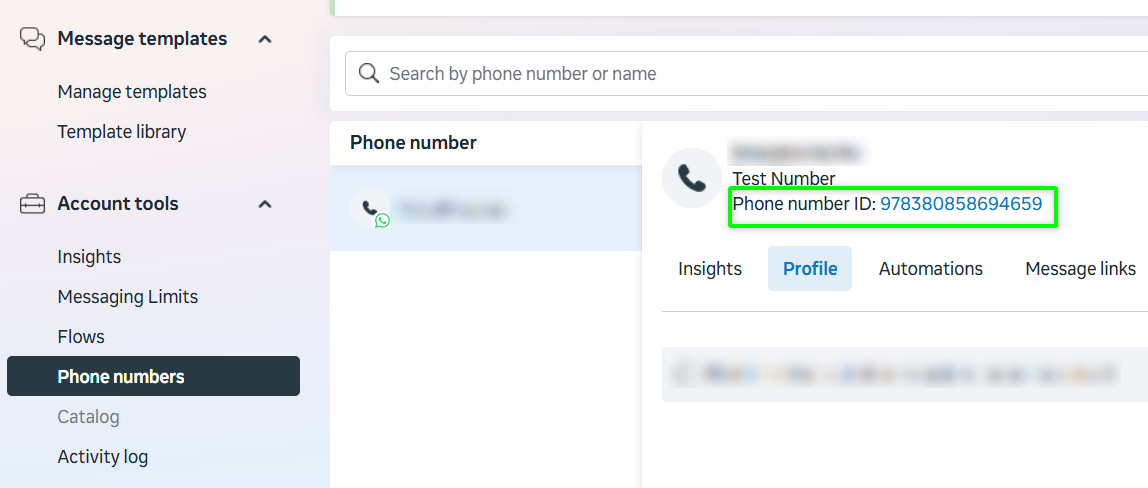
-
Authorization Token — token obtained in Step 8.