Invite employees to the project
Invite employees to the project to synchronize them with the CRM and enable work in the unified Scenario Dialogs window.
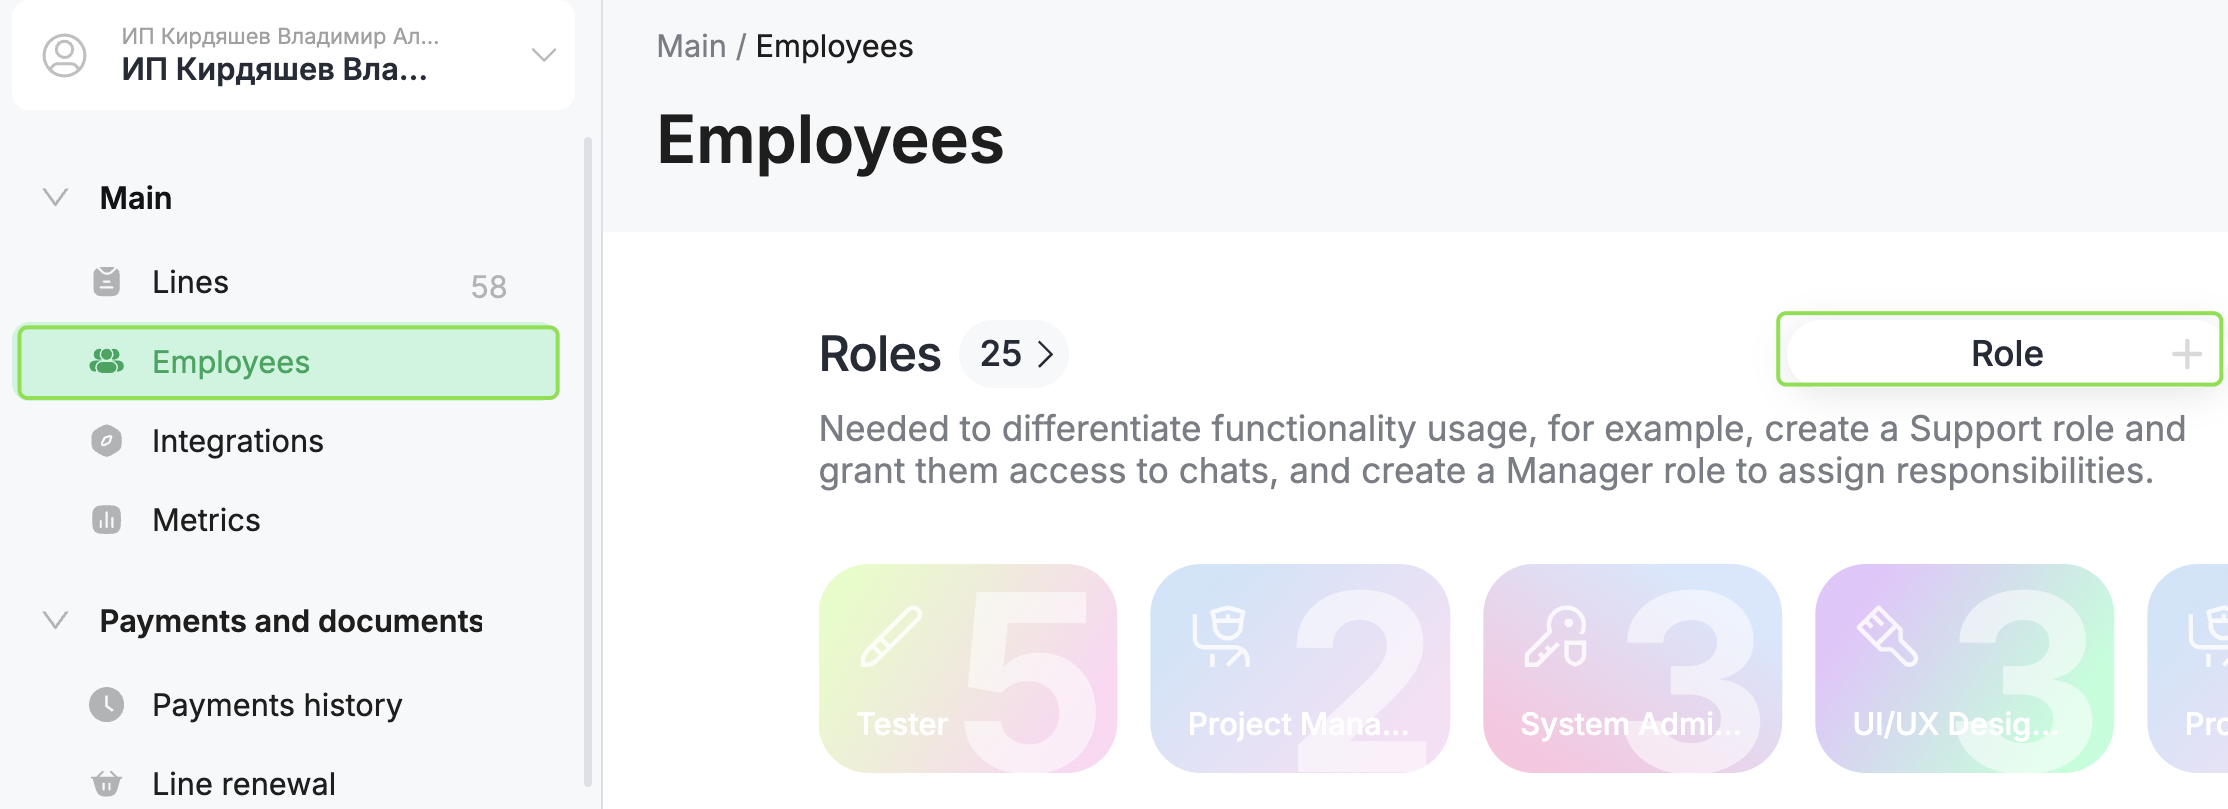
Before inviting employees, you need to create a role under which the employee will be added to the project:
Step 1. Go to Main → Employees and click “Role +”.
Step 2. Enter the role name.
Step 3. Select the lines the role will have access to (one, several, or all).
If the required lines are missing, check whether the line is linked to the project.
Step 4. Configure access to quick replies and, if necessary, allow editing.
Step 5. In the Chats section, grant the required access permissions and click “Done”.
Step 6. If necessary, enable full access to chat analytics to view metrics.
Step 7. Make sure to enable viewing company data; otherwise, the employee will not see the project and organization.
Step 8. If necessary, enable management of custom chat fields in Scenario Dialogs.
Step 9. If necessary, enable management of company statuses (pipeline in Scenario Dialogs).
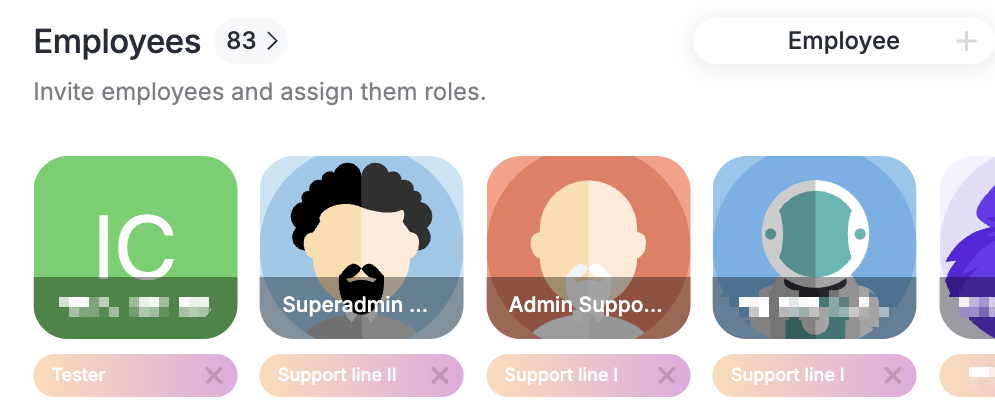
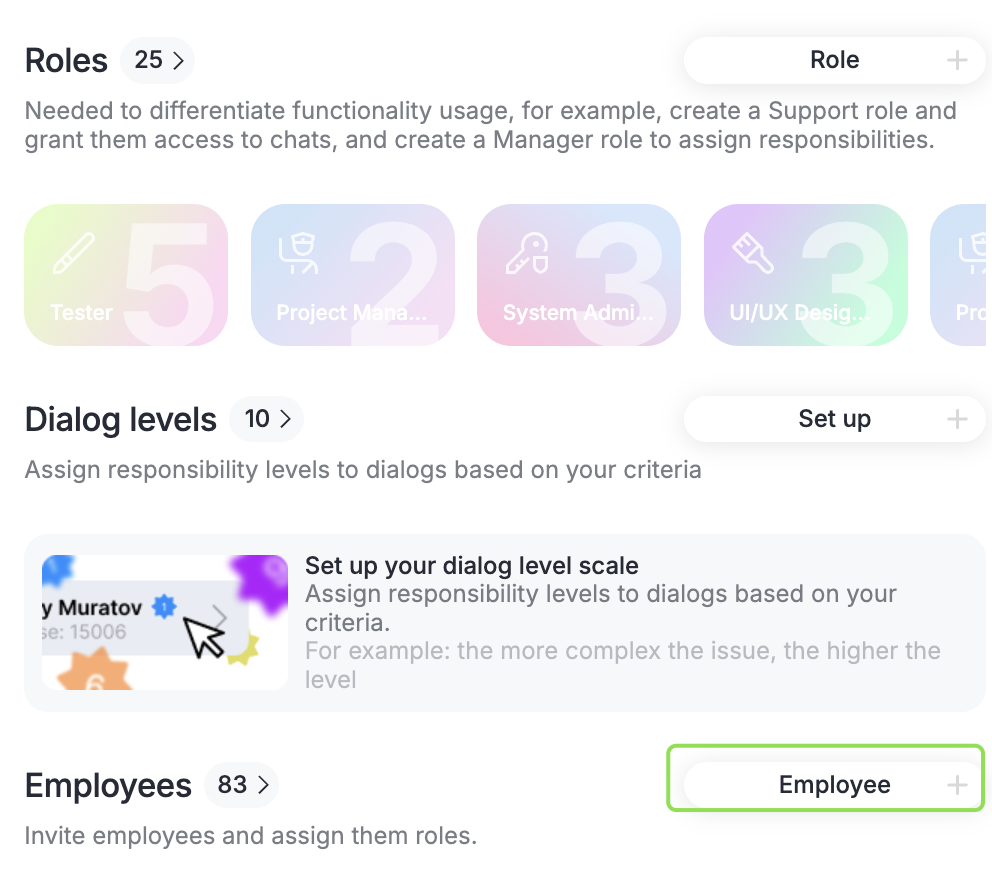
The role is created — you can now invite employees:
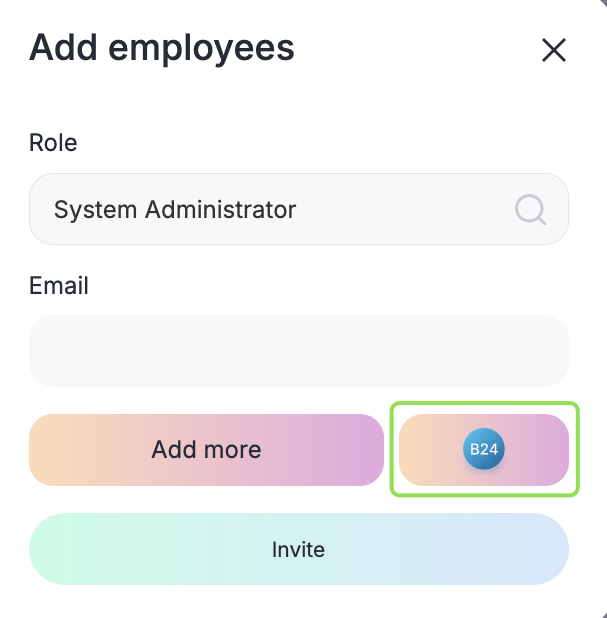
Step 1. Go to the Employees section and click “Employee +”.
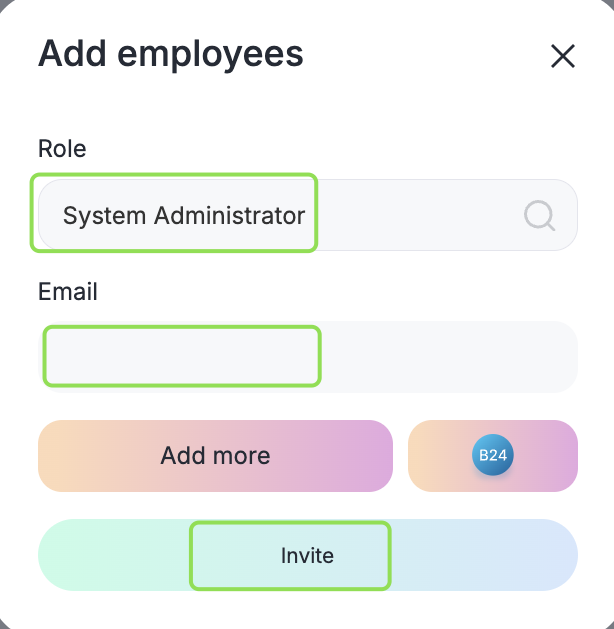
Step 2. Select the role under which the employee will be invited. There are two ways to invite an employee:
If no account is registered for this email, the employee will receive an email with login details. If an account already exists, the employee only needs to log in.
Please note: before importing employees from the CRM, you must configure the integration. See the article for details.
Click the Bitrix24 icon, select the employees to invite by enabling the toggle, and click “Invite”.
Invited employees are displayed in the Employees section, and access rights are applied according to the selected role.