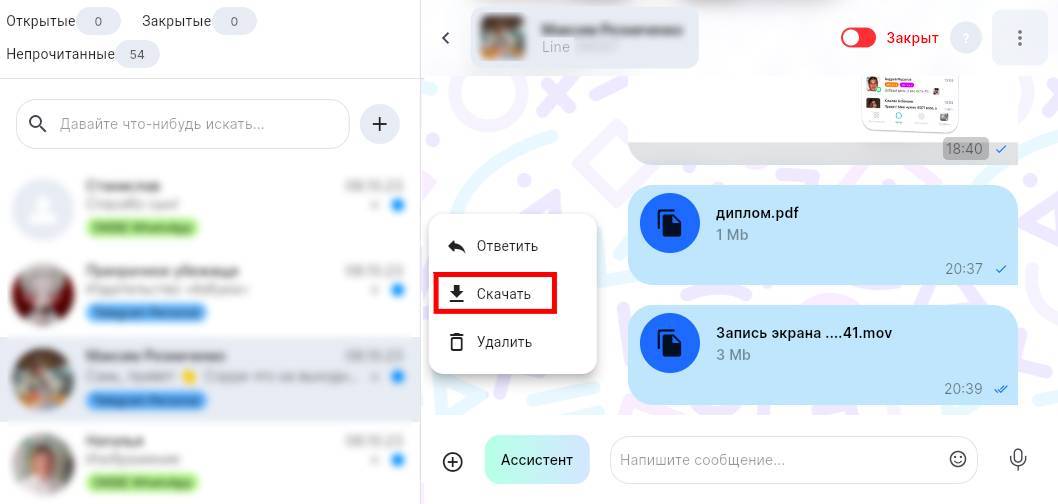
В Dialogs.pro можно настроить карточки диалога и параметры мессенджера. Чтобы это сделать, перейдите в «Настройки» Dialogs.pro и выберите подпункт «Диалоги».
Настройки карточки диалога
Этот раздел позволяет детально настроить то, в каком виде отображаются карточки диалога. С его помощью можно отрегулировать информацию в карточках под свои нужды и удобства.
- В ChatApp Dialog нажмите кнопку «Еще».

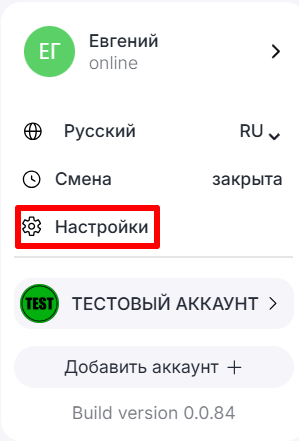
- Нажмите «Настройки».
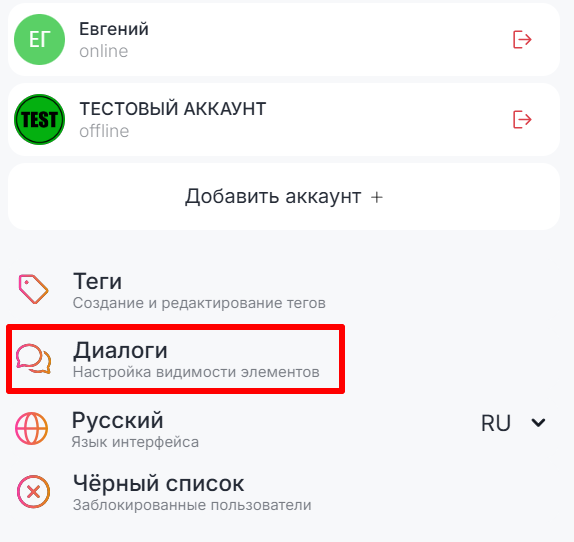
- Выберите «Диалоги».
- Настройте нужные параметры:
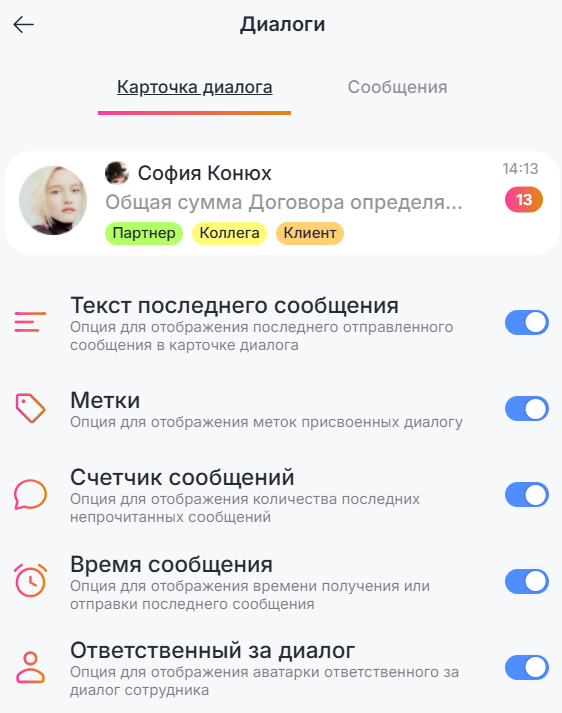
- Текст последнего сообщения — при включении в карточке диалога отображается последнее отправленное или полученное сообщение.

- Метки — Включение данной функции позволяет видеть на карточке диалога установленные метки.

- Маркер непрочитанных сообщений — помечает непрочитанные сообщения. Вы можете настроить условия, при которых сообщение считается прочитанным.

- Время последнего сообщения — на карточках диалогов появляется точное время последнего отправленного сообщения. Если сообщению больше 24 часов, отображается дата.

- Мессенджер диалога — отображает на карточке диалога мессенджер, используемый пользователем.

- Компактный вид мессенджера — Тип мессенджера отображается в формате иконки. На сэкономленном месте отображается больше меток.

- Ответственный за диалог — на карточке диалога изображается аватар ответственного сотрудника. Аватар дублирует функции кнопки «Меню» из окна диалога.

Настройки параметров мессенджера
Регулирование следующих параметров определяет внешний вид облаков с сообщениями внутри диалогового окна. Настройте эти пункты под себя, чтобы повысить комфорт от использования Dialogs.pro и информативность облаков сообщений.
1. Отметить диалог как прочитанный — задайте условие, при котором диалог помечается прочитанным:
Важно! Пометить диалог прочитанным может только ответственный.
- При открытии диалога. Диалог помечается прочитанным сразу после открытия;
- При отправке сообщения. Диалог помечается прочитанным только когда вы отправили пользователю сообщение;
- Только вручную. Помечайте диалоги прочитанными вручную.

2. Отправка сообщения — выберите удобный способ отправки сообщения:
- Клавиша ввод. Сообщение отправляется нажатием на клавиатуре клавиши «Enter»;
- Нажать на иконку отправить. Сообщение отправляется при нажатии на иконку справа от строки ввода сообщения.

3. Имя отправителя — отображает имя пользователя над текстом каждого сообщения.

4. Имя сотрудника — отображает имя сотрудника над текстом каждого сообщения.

Кнопки управления сообщениями
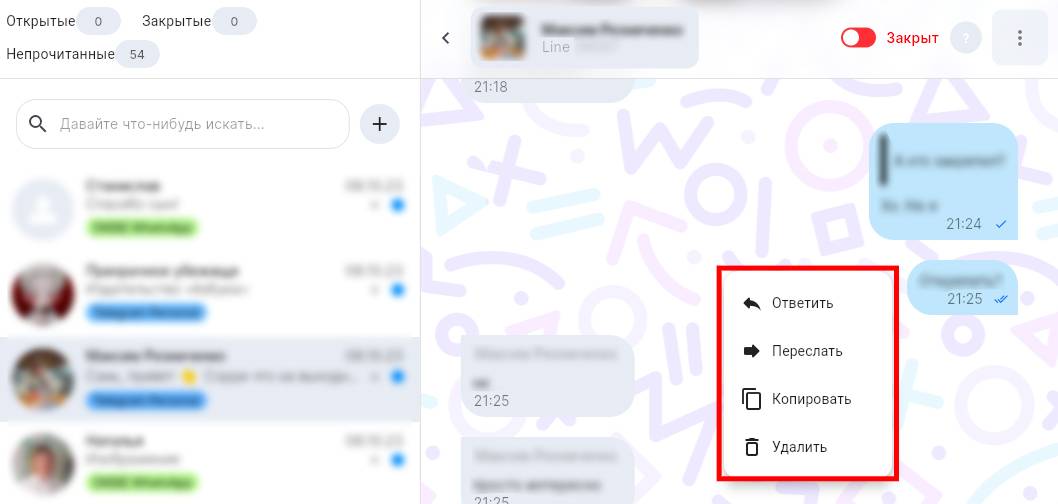
Dialogs.pro позволяет копировать, пересылать, удалять сообщения, а также отвечать на них при помощи специальных навигационных кнопок. Чтобы воспользоваться функцией:
1. Выберите диалог;
2. Нажмите правой кнопкой мыши на нужное сообщение;
3. Выберите действие;
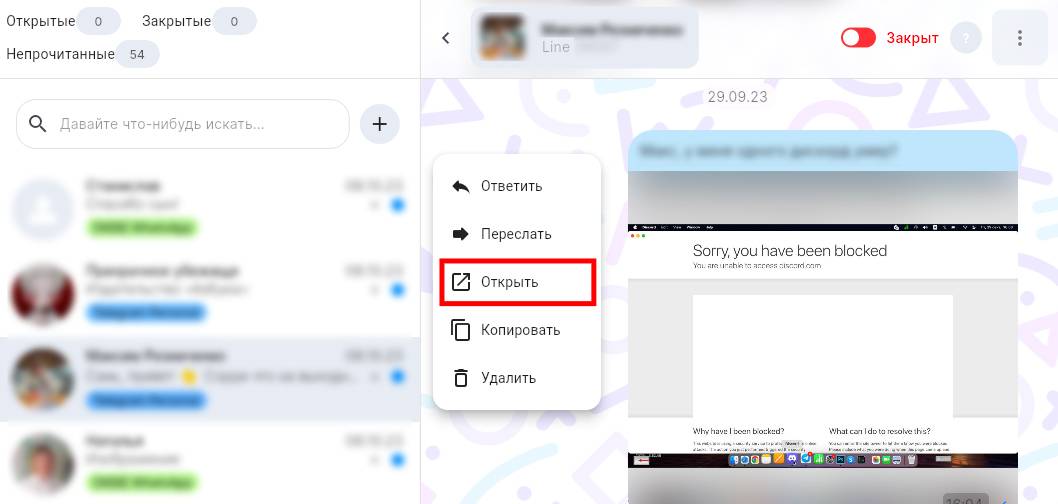
В случае с изображениями появляется дополнительный пункт «Открыть».
Для файлов, например .pdf, появляется кнопка «Скачать».
