Представим, в компании несколько отделов — техническая поддержка, бухгалтерия, отдел продаж. Нужно, что бы диалоги распределялись по данным ролям. Для этого и существуют уровни. Если добавить роль на уровень, то диалоги можно назначать на конкретные отделы, внутри которых будет выбран ответственный сотрудник. На уровень можно назначить как весь отдел, так и его часть.
Как настроить уровни
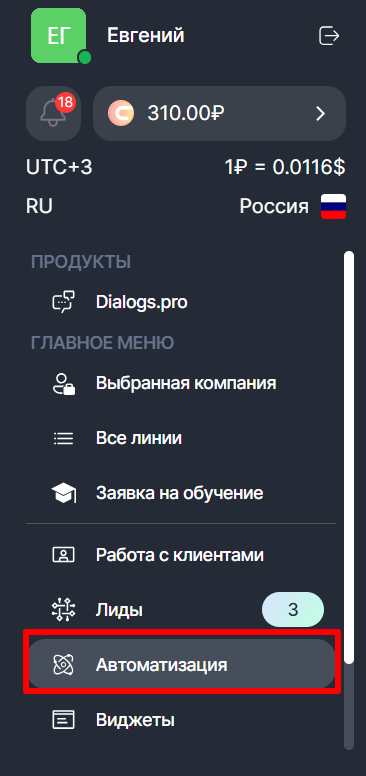
1. В личном кабинете ChatApp перейдите в раздел «Выбранная компания»;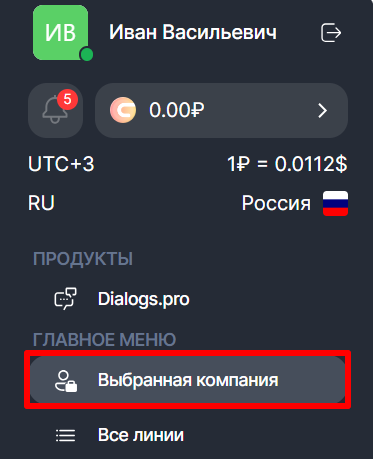
2. Во вкладке «Сотрудники» перейдите в настройку уровней диалогов;
Перед настройкой уровней убедитесь, что в вашей компании минимум 2 сотрудника и 2 роли. Подробнее в статье.
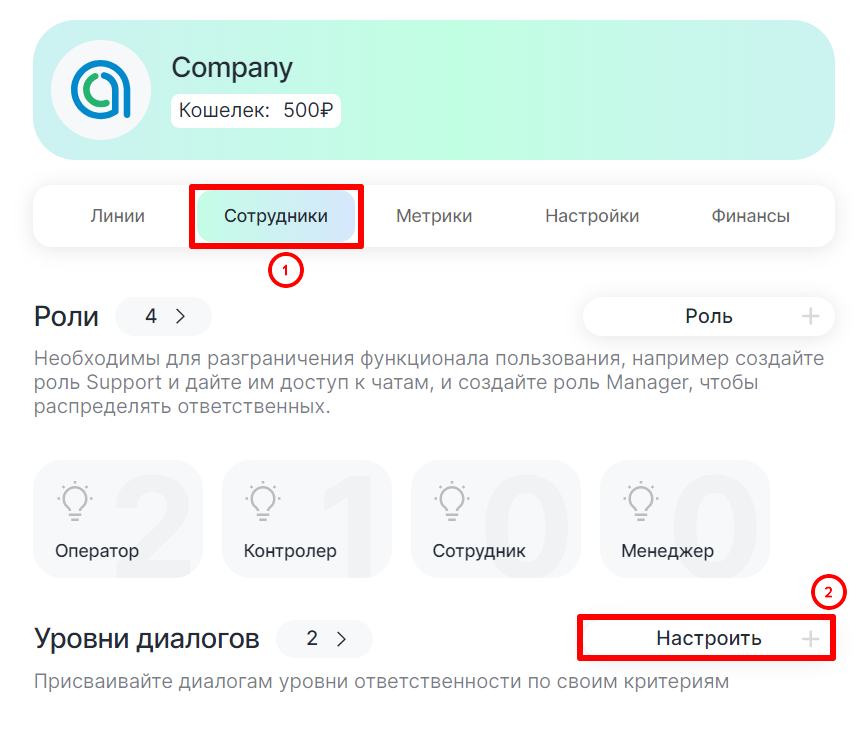
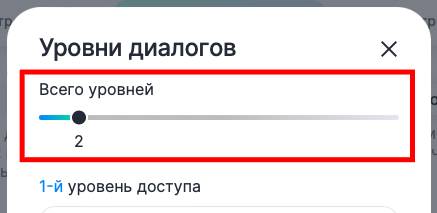
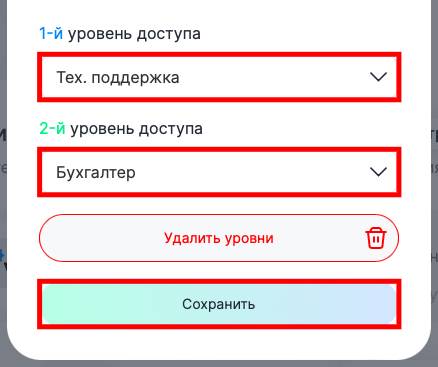
3. Двигая ползунок, создайте столько уровней, сколько создано ролей;
4. Укажите роль для каждого уровня. Нажмите «Сохранить»;
Настройка автоматизации
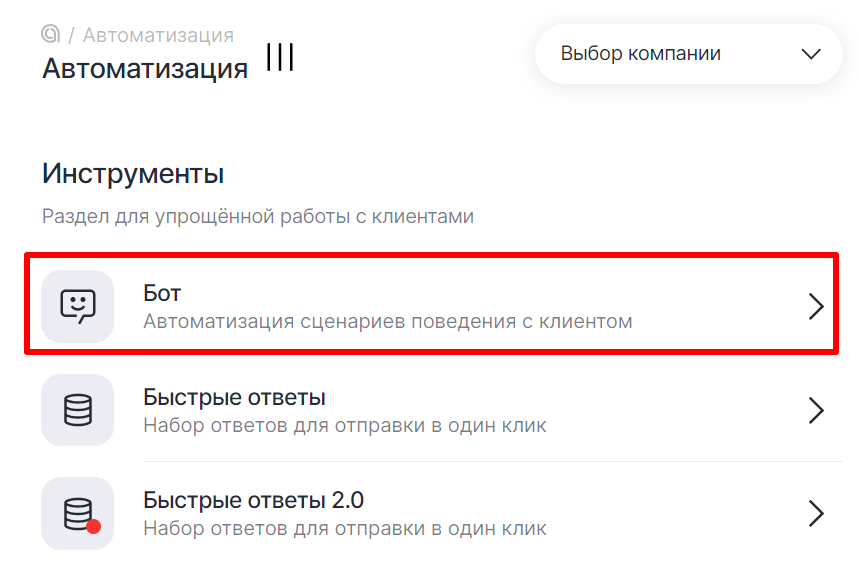
1. В разделе «Автоматизация» перейдите на вкладку «Бот»;
2. Создайте бота или выберите существующего;
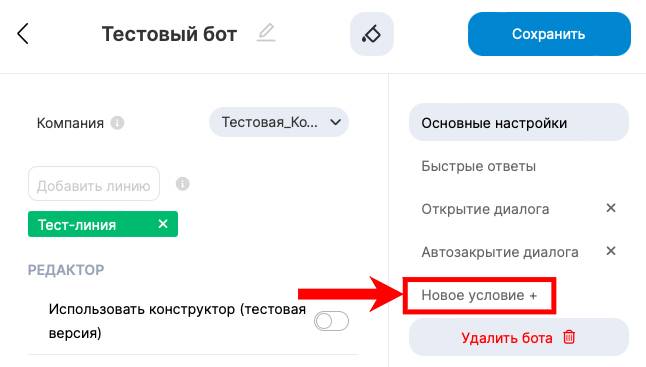
3. В меню справа нажмите на «Новое условие»;
4. Выберите «Умное распределение»;
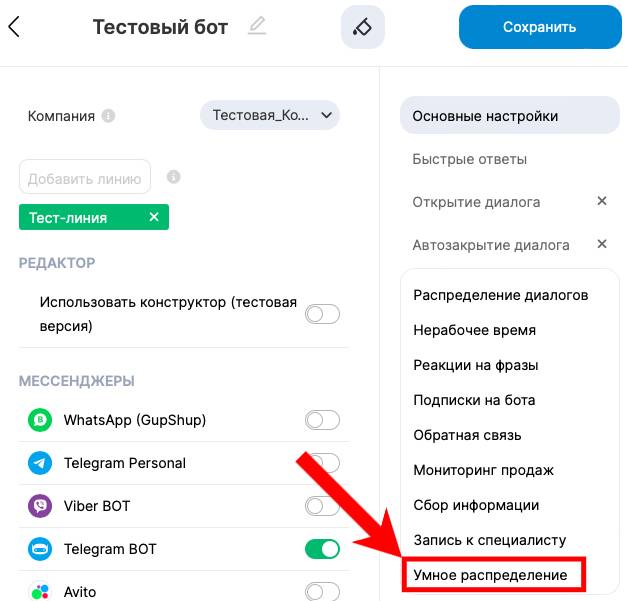
5. Перед вами отобразится список уровней, созданных в кабинете. Настройте распределение уровней на свое усмотрение.
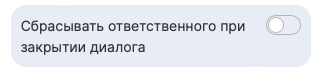
1. При закрытии диалога уровень сбрасывается;

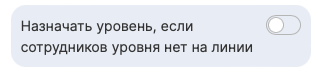
2. Уровень можно назначить даже если сотрудников роли нет на месте;
3. Сотрудники роли могут закрепиться за диалогом присвоенного уровня;

4. После закрытия диалога сотрудник открепляется;

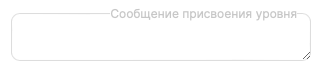
5. Сообщение, отправляемое пользователю, при присвоении уровня. Можно оставить пустым;
6. Добавление на уровень сотрудников роли и формирование очереди;

7. Варианты распределения:

- Равномерное — диалоги распределяются не перегружая наиболее занятых сотрудников;
- Всем одновременно — закрепиться за диалогом может любой сотрудник на уровне;
- Строго по очереди — диалог передаётся по заданной очереди из сотрудников.
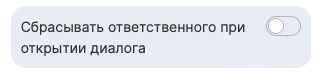
8. Ответственный сбрасывается, когда диалог открывается/закрывается;
9. Если назначенного сотрудника нет на линии, диалог передаётся другому;
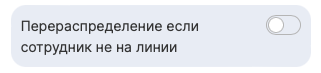
10. Если сотрудник отсутствует на линии заданное время, его диалог передаётся другому;

11. Сообщение, отправляемое пользователю при смене закрепленного сотрудника. Можно оставить пустым.

Использование уровней в ChatApp Dialogs
Предварительно настроенные уровни диалогов можно менять внутри Dialogs.
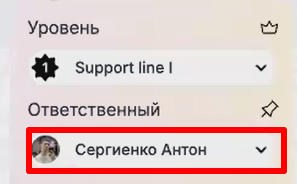
1. В Dialogs нажмите на иконку профиля.
2. Выберите уровень. Ответственный поменяется в соответствии с выбранным уровнем.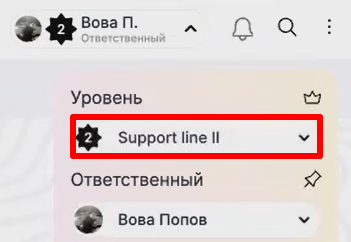
3. Если выбрать ответственного, то уровень поменяется в соответствии с ответственным.