Через Конструктор ботов можно сделать рассылку по контактам Битрикс24 и настроить её так, чтобы сообщения пришли только нужным контактам — например, клиентам, а сотрудники компании были из неё исключены.
Для этого нужно создать и настроить воронку в Битрикс24, настроить поля в карточке «Контакт» и собрать сценарий в Конструкторе ботов.
ChatApp должен быть подключен к Битрикс24 по инструкции: https://chatapp.online/ru/help/attachment-settings/.
Настройка полей контакта
Контакт
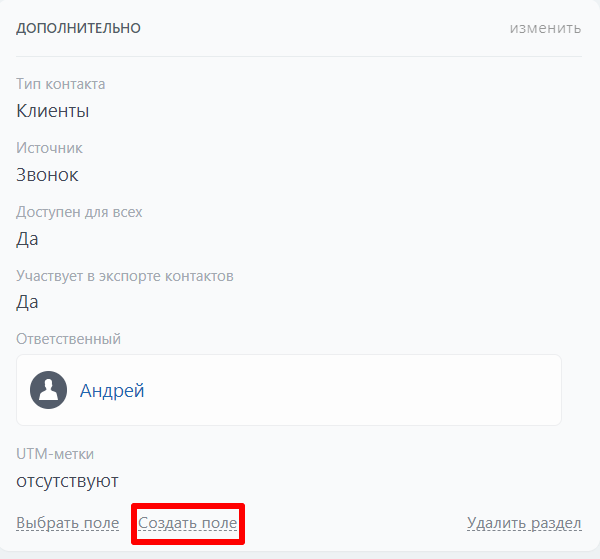
- Откройте карточку контакта. Если в контакте уже существует предустановленное поле «Тип контакта», перейдите к шагу 5.
- Нажмите «Создать поле».
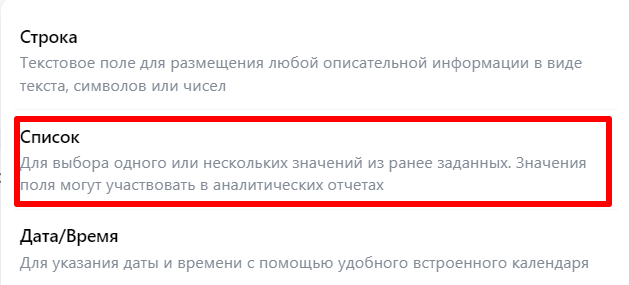
- Выберите «Список».
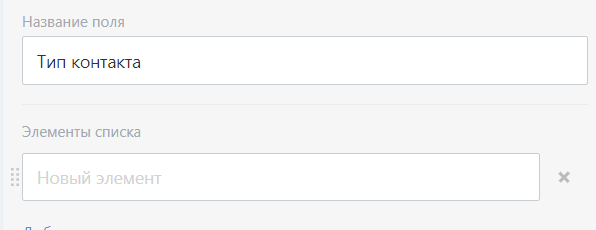
- Введите название поля — «Тип контакта».
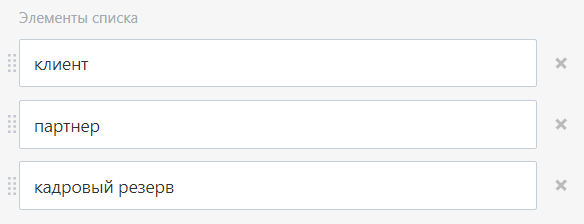
- В элементах списка введите типы, по которым нужно разделить контакты. Например: «клиент», «партнер», «кадровый резерв».
- Нажмите «Сохранить».
Создание сценария в конструкторе ботов
1. Перейдите в Конструктор ботов.
2. Удалите «Стартовый блок».
3. Добавьте блок «Входящий Webhook». Заполнять параметры и добавлять поля не нужно — блок нужен только чтобы запустить сценарий.
4. Скопируйте ссылку из блока «Входящий вебхук» и сохраните её. Её нужно будет вставить в робота «Исходящий вебхук» в Битрикс24, см. раздел «Настройка воронки в Битрикс24» пункт 6.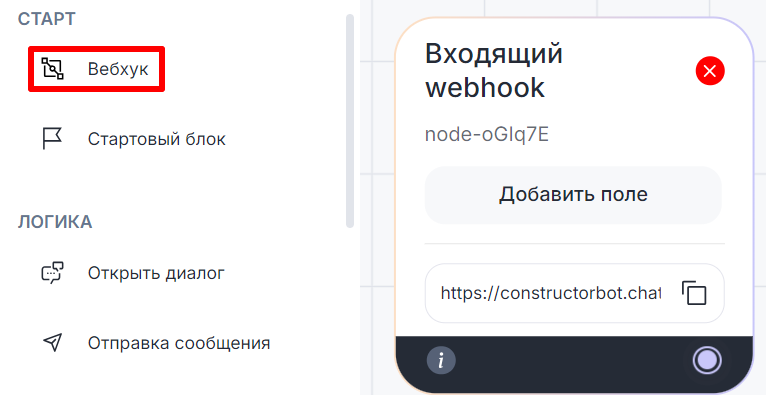
5. Создайте три переменные: i, b, c. Все они должны быть типа «Целое число».
i — будет отвечать за порядковый номер элемента в списке;
b — будет хранить количество обработанных контактов;
c — будет содержать информацию о количестве обработанных контактов в рамках одного запроса (50 контактов).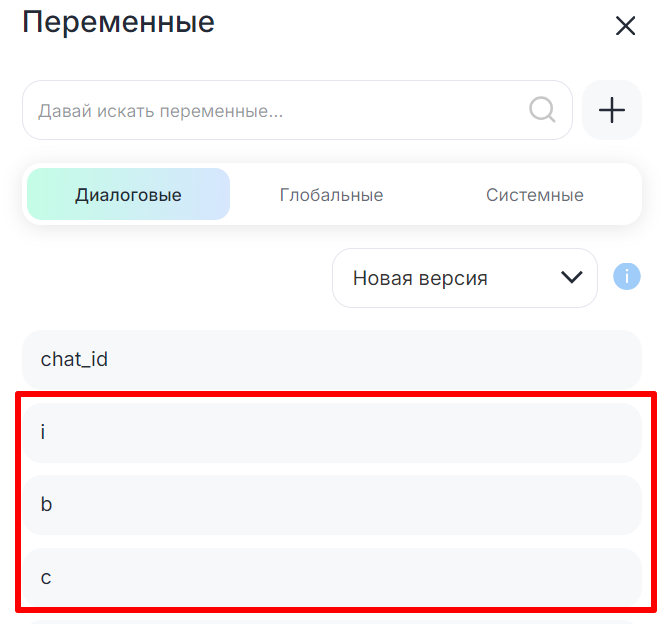
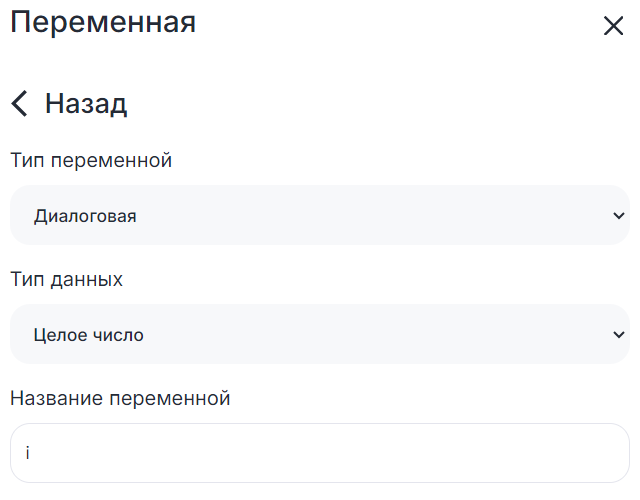
6. Создайте подряд три блока «Изменение переменной» и соедините их между собой.
- Переменной b укажите значение 0;
- Переменной i укажите значение -1;
- Переменной c укажите значение 0.


7. Добавьте блок «API запрос».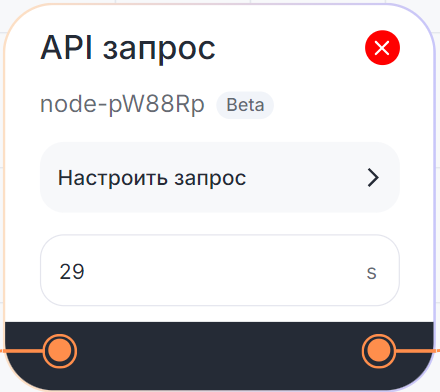
8. В блоке «API запрос» выберите «Тип запроса» — «GET» и вставьте ссылку из Битрикс24 в поле «Ссылка запроса».
- Для получения ссылки, зайдите в Битрикс24 → нажмите «Разработчикам» → «Другое» → «Входящий вебхук» → скопируйте «Вебхук для вызова rest api».
- Предоставьте нужные права — нажмите «Настройка прав» → «+ выбрать» → «CRM» → «Сохранить».
Параметры запроса нужно указать в ссылке:
https://имя портала/bitrix24.ru/rest/1/raj4lkiag1pqnqqu/crm.contact.list?start={{b}}&select[]=NAME&select[]=PHONE&select[]=TYPE_ID |
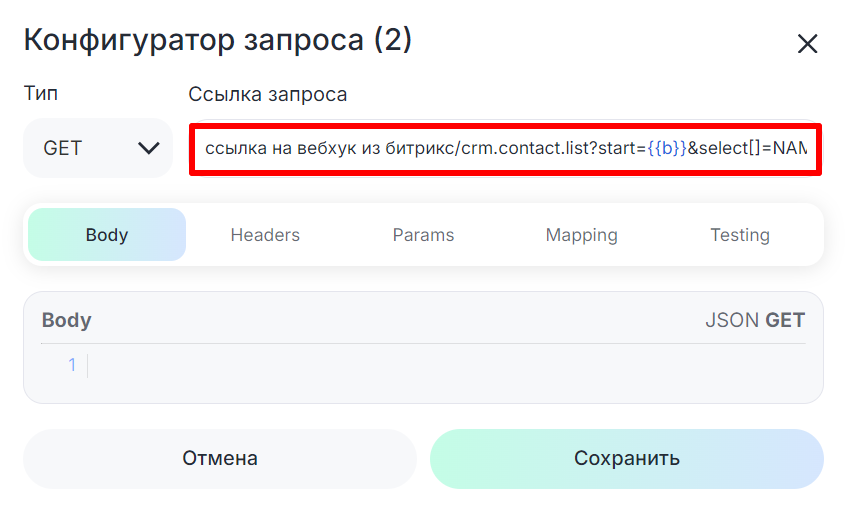
- start={{b}} — порядковый номер контакта, с которого должен начинаться список;
- select[]=NAME&select[]=PHONE&select[]=TYPE_ID — поля «Имя» (NAME), «Телефон» (PHONE), «Тип контакта» (ID поля Тип контакта).
Как узнать ID поля:
- В браузере Chrome перейдите в Битрикс24 и кликните правой кнопкой мыши по нужному полю;
- Нажмите «Посмотреть код»;
- name=ID нужного поля. Например, «TYPE_ID»;

9. Во вкладке «mapping» блока «API запрос» сопоставьте результат «$.total» с переменной в Конструкторе. Назовите переменную, например, «total». Это нужно, чтобы узнать, сколько всего элементов в списке.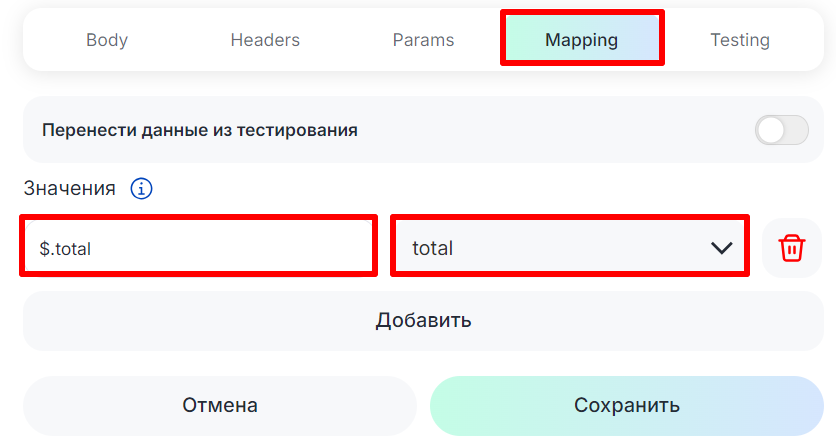
10. Нажмите «Сохранить» в блоке «API запрос».
11. Добавьте блок «Программатор». Он позволит обрабатывать список, который вернет «API запрос».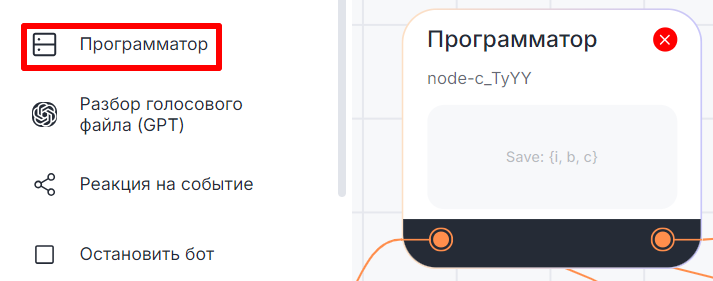
12. Впишите в блок «Программатор» код:
let i = {{i}} +1let b = {{b}} +1let c = {{c}} +1save({i, b, c}) |
К созданным ранее переменным каждый цикл будет добавляться +1, чтобы знать, сколько элементов уже обработано и была возможность обращаться к новым. «save({i, b, c})» — сохраняет результат.
13. Создайте блок «Изменение переменной».
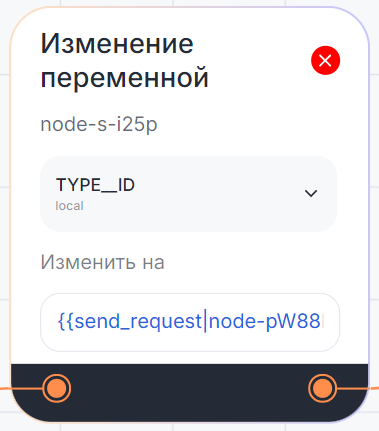
14. Создайте диалоговую переменную «TYPE_ID» и в блоке «Изменение переменной» вложите в нее значение результата блока «API запрос», который содержит тип контакта.
Для этого введите двойные фигурные скобки «{{» и выберите результат «data» блока «API запрос». В результат после «data» добавьте «.result[i].TYPE_ID». Получится результат такого вида: {{send_request|node-pW88Rp|data.result[i].TYPE_ID}}.
15. Теперь нужно установить проверку поля «Тип контакта», чтобы отправить сообщение только нужным контактам. Например, чтобы в рассылку попали контакты с типом «Клиенты» и «Партнеры», а «Кадровый резерв» — нет.
Для этого нужно узнать ID значения «Кадровый резерв» поля «Тип контакта»:
- В браузере Chrome кликните правой кнопкой мыши по полю «Тип контакта»;
- Нажмите «Посмотреть код»;
- Посмотрите значение в поле value=. Пример значения: «value=UC_TZW4SU» — этот ID содержит «кадровый резерв».


16. Создайте блок «Условие» и настройте проверку, что в TYPE_ID лежит «кадровый резерв» — вставьте в поле справа его ID. 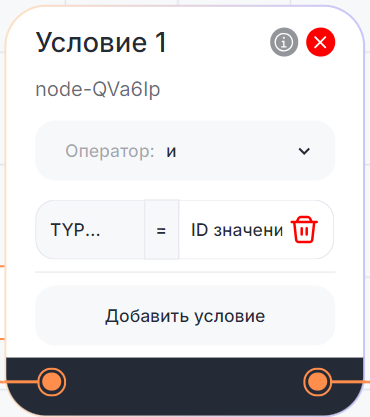
17. Если TYPE_ID = кадровый резерв, то мы пропускаем этот контакт и повторяем шаг до тех пор, пока результат «Условие 1» не будет False. Для этого соединяем «Условие 1» обратно с блоком «Программатор».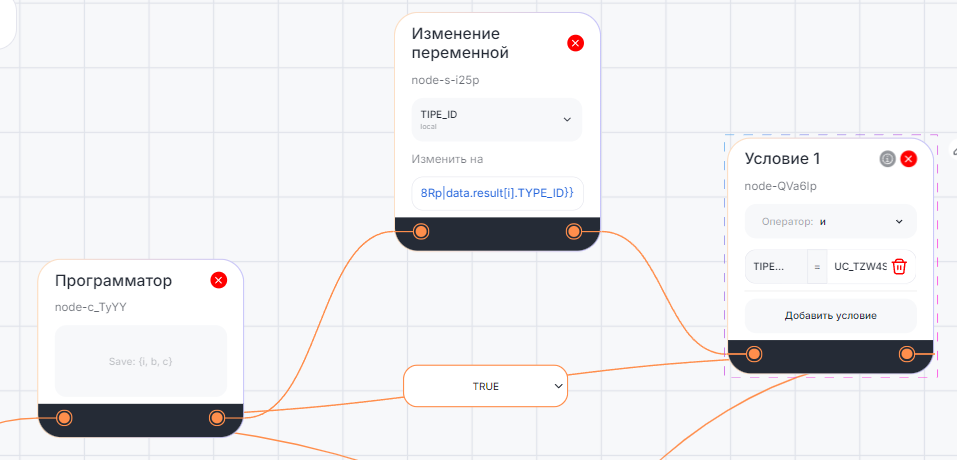
18. Чтобы сценарий не ушел в бесконечный цикл, если будет подряд больше 50 контактов «кадровый резерв», добавьте между блоками еще одно «Условие»:
- Если переменная c меньше или равна 49, то сценарий идет дальше;
- Если с=50, пора обновить запрос и получить следующую страницу с новыми 50 контактами.
Для этого результат «=50» возвратите в блок «Изменение переменной», где значение i изменится на -1.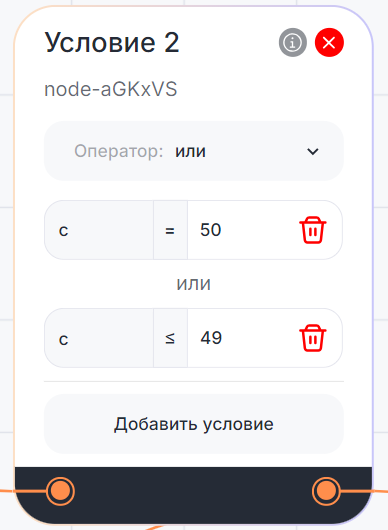
19. После второго блока «Условие» поставьте блок «Пауза», чтобы не достичь ограничения на выполнение блоков в секунду.
20. Еще один блок «Пауза» добавьте между первым блоком «Условие» и блоком «Программатор».
В итоге должен получиться сценарий: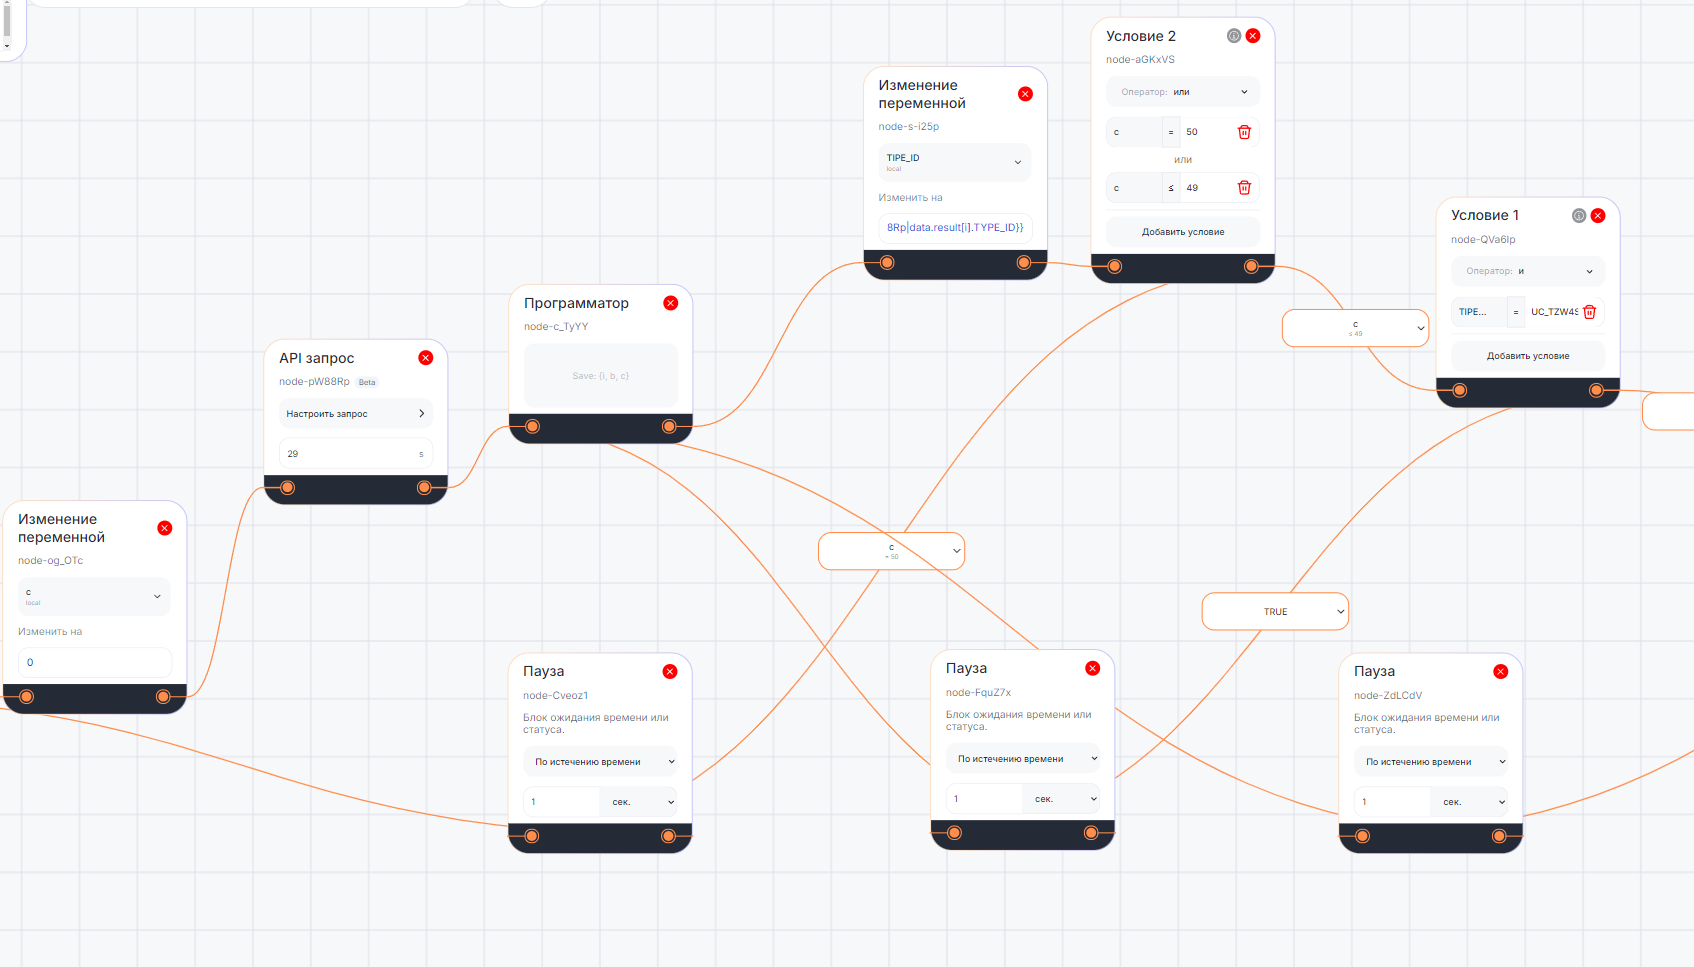
21. Добавьте еще один блок «Условие»: total<b или total≥b. Это нужно для того, чтобы проверить, не достигла ли проверка конца рассылки.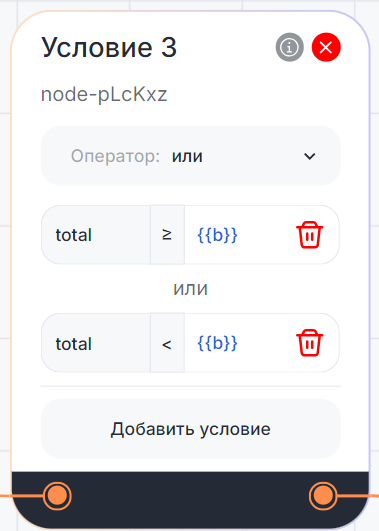
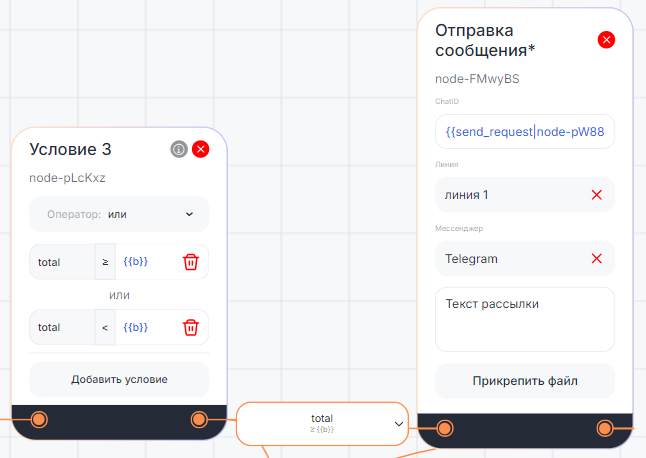
22. Добавьте блок «Отправка сообщения*» если total≥b — проверка не достигла конца рассылки.
- Введите сообщение для рассылки;
- В поле «ChatID» введите результат из блока «API запрос», содержащий ChatID. Например, с номером телефона. Для этого введите двойные фигурные скобки «{{» и выберите результат «data» блока «API запрос». В результат после «data» добавьте «.result[i].PHONE[0].VALUE». Получится результат такого вида: {{send_request|node-pW88Rp|data.result[i].PHONE[0].VALUE}};
- Соедините этот блок с блоком «Программатор», чтобы продолжить рассылку.
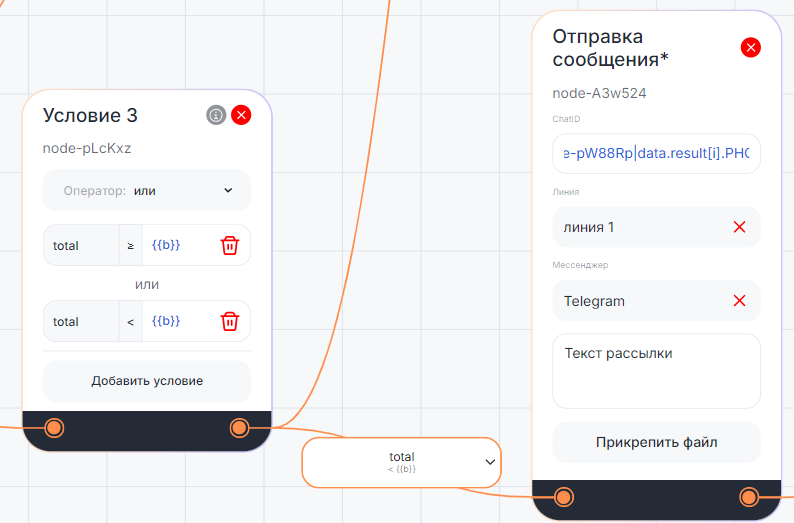
23. Добавьте блок «Отправка сообщения*» если total<b — рассылка закончена.
- Введите сообщение для рассылки;
- В поле «ChatID» введите результат из блока «API запрос», содержащий ChatID. Например, с номером телефона. Для этого введите двойные фигурные скобки «{{» и выберите результат «data» блока «API запрос». В результат после «data» добавьте «.result[i].PHONE[0].VALUE». Получится результат такого вида: {{send_request|node-pW88Rp|data.result[i].PHONE[0].VALUE}};
- После этого блока добавьте блок «Закрыть диалог» и соедините их, чтобы сценарий завершил работу.
Итоговый сценарий:
Со сценарием можно ознакомиться по ссылке: https://constructorbot.chatapp.online/view/8307?share=8fd5124b57a3ac72e32e4e4356e622cf&lang=ru.
Настройка воронки в Битрикс24
- В воронке Битрикс24 создайте этап «Запущена».


- Перейдите в «Роботы».

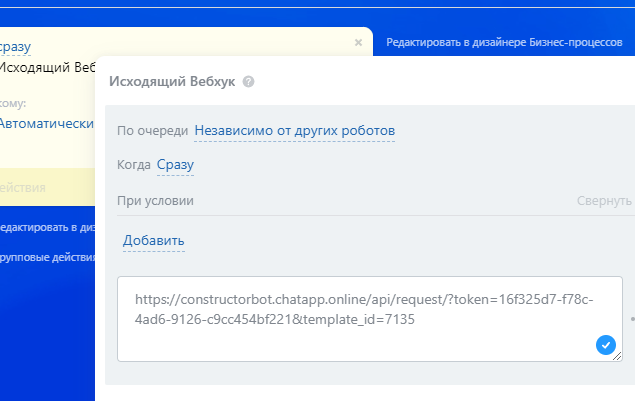
- Добавьте робота «Исходящий вебхук» на стадию «Запущена». Для этого нажмите на «+» и выберите «Исходящий вебхук».
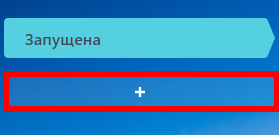

- В настройках робота нужно добавить ссылку, которую можно скопировать в Конструкторе ботов из блока «Входящий webhook». См. раздел «Создание сценария в Конструкторе ботов» пункт 5.
- Нажмите «Сохранить».
- Для запуска рассылки перенесите любую сделку на стадию «Запущена».