Для начала создается роль. Это нужно для разграничения функционала, например создайте роль «Оператор» и дайте доступ к чатам. Создайте «Менеджер», чтобы распределять ответственных. Затем пригласите сотрудников и выдайте доступы «Оператор» или «Менеджер».
Создание роли
1. Перейдите в личный кабинет ChatApp и выберите пункт «Выбранная компания» в левом боковом меню.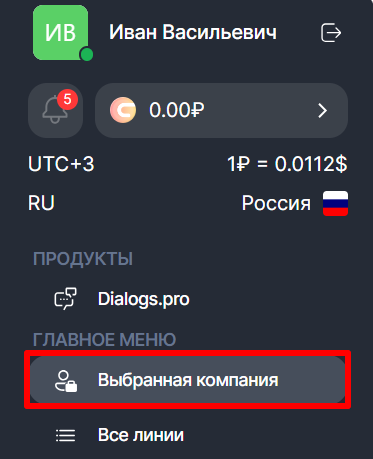
2. Нажмите на вкладку «Сотрудники»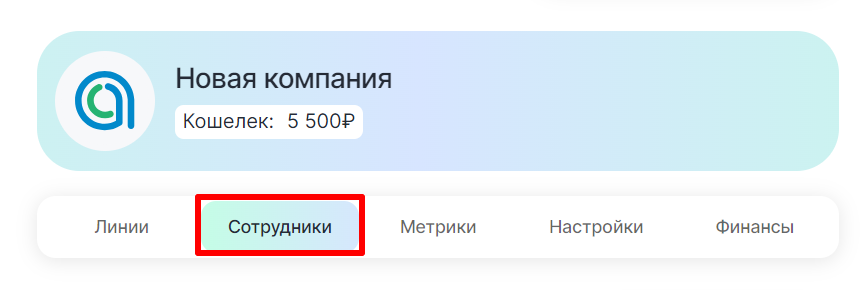
3. Выберите «Роль».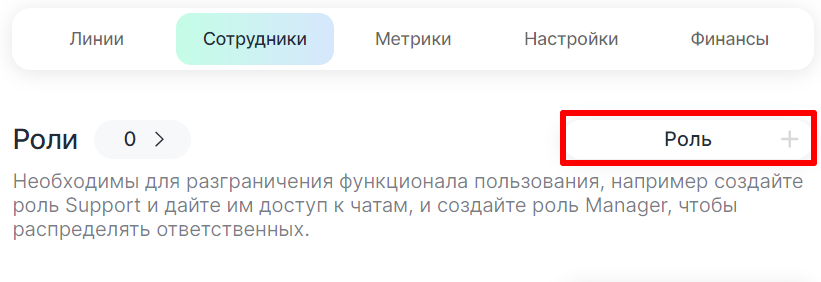
4. Во всплывающем окне впишите название роли, например, «Оператор».
5. Во вкладке «Линии», вы можете включить доступ к одной, к нескольким или ко всем линиям. Выберите нужные.
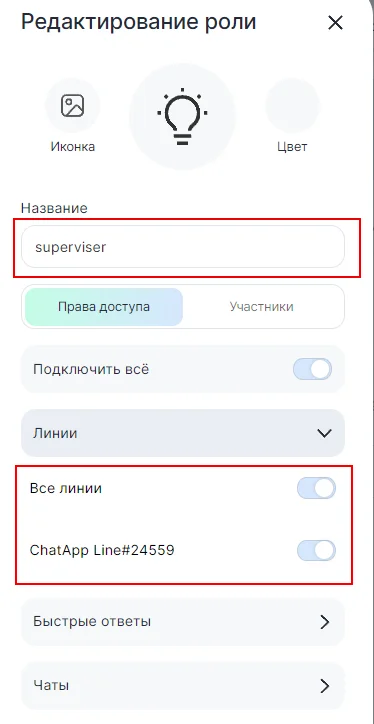
Если нужных линий нет, проверьте привязаны ли они к компании.
1. Нажмите на вкладку в левом меню «Выбранная компания».
2. В разделе «Настройки» кликните по нужной линии.
3. В графе «Принадлежность» нажмите «Сменить».
4. Выберите компанию.
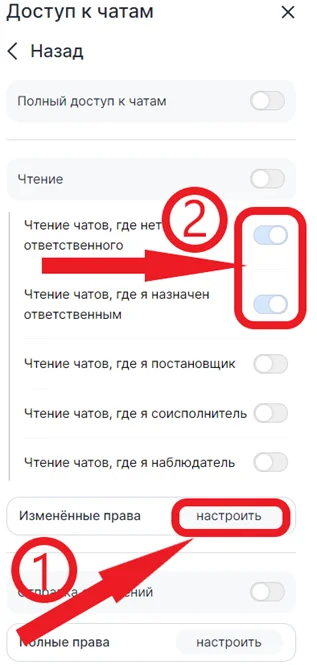
6. Во вкладке «Чаты» настройте права доступа. Для этого переведите ползунки в правое положение напротив разрешений, которые хотите выделить для этой роли. Внизу нажмите «Готово».
Например: в графе «Чтение» можно выдать доступ к просмотру некоторых чатов. Вариант на скриншоте дает возможность читать оператору только те чаты, где он назначен ответственным или где ответственного нет.
7. В разделе «Создание роли» нажмите «Сохранить».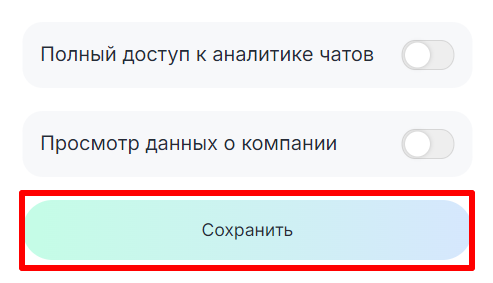
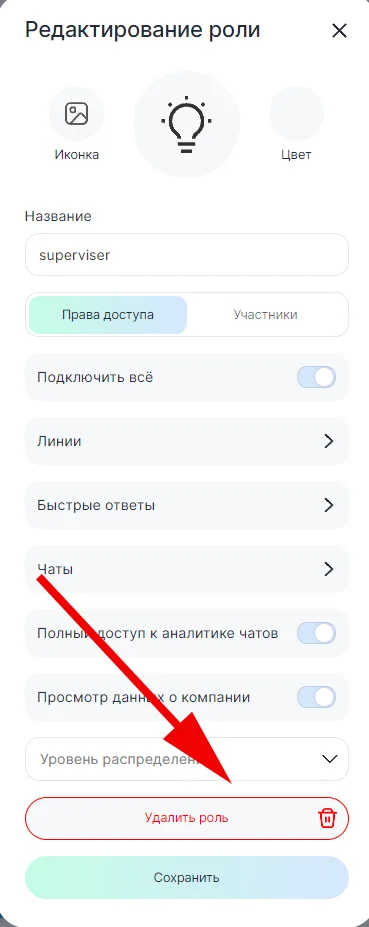
Если понадобится отредактировать роль, нажмите на роль во вкладке «Сотрудники».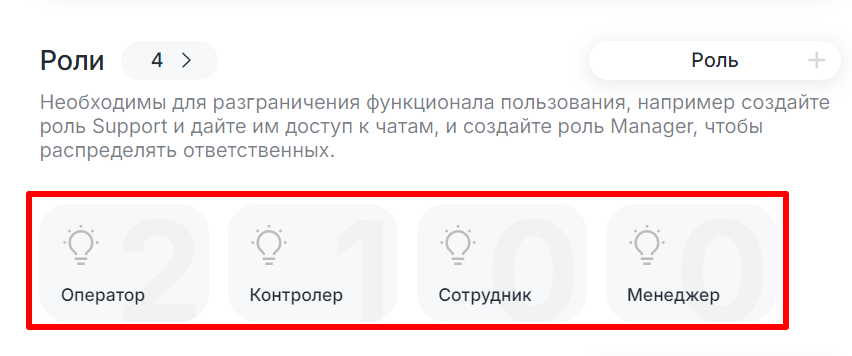
Если понадобится удалить роль, нажмите на кнопку «Удалить роль».
Приглашение Сотрудников
Теперь, когда роли созданы пригласите сотрудников.
1. Вернитесь в раздел «Сотрудники».
2. Нажмите «Сотрудник +».
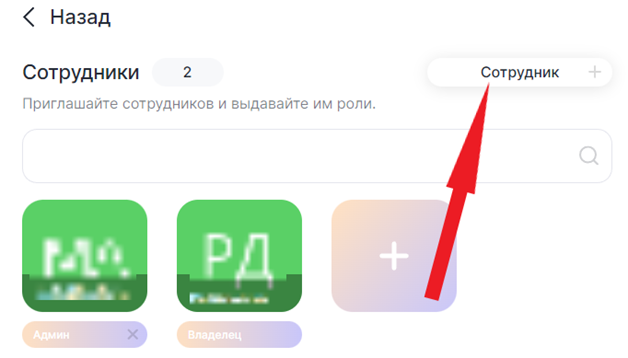
3. Во всплывающем окне ведите Email сотрудника, выберите для него роль и нажмите «Пригласить».
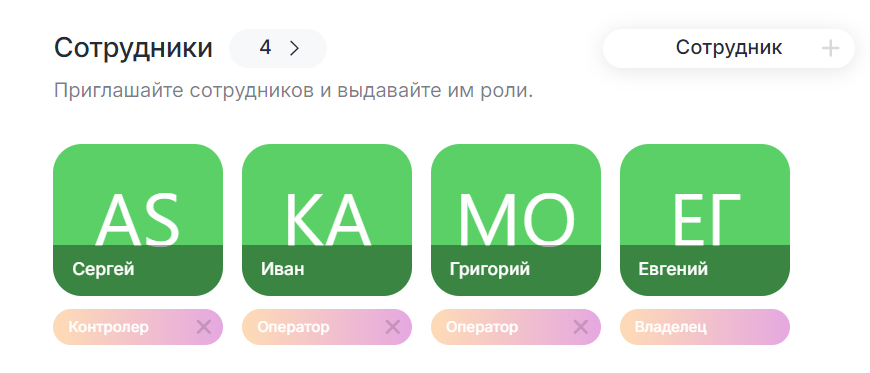
4. После принятия приглашения сотрудник будет отображаться в разделе «Сотрудники».
Редактирование сотрудников
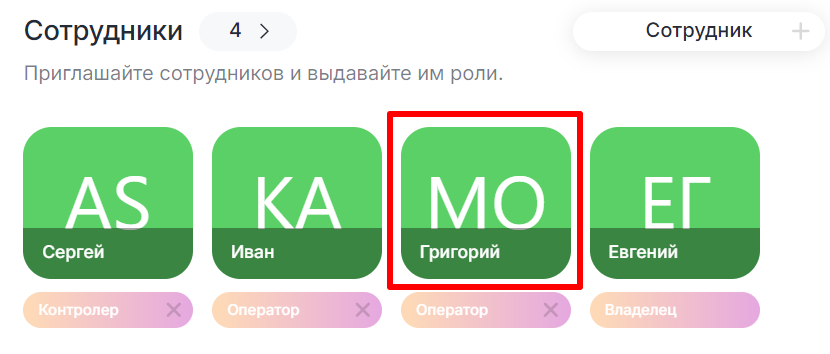
- Чтобы изменить настройки для сотрудника, нажмите на иконку с его именем.
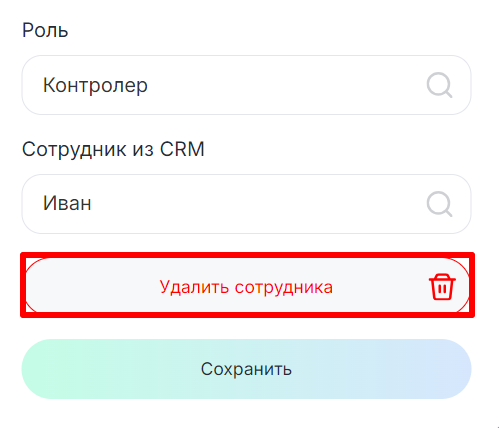
2. В окне «Данные сотрудника» можно изменить назаченную Роль.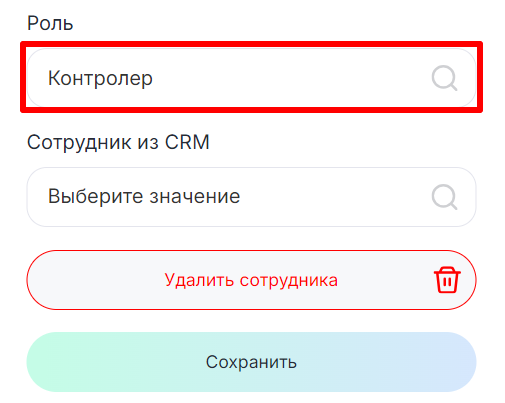
3. В поле «Сотрудник из CRM» можно сопоставить выбранного сотрудника с сотрудником из CRM.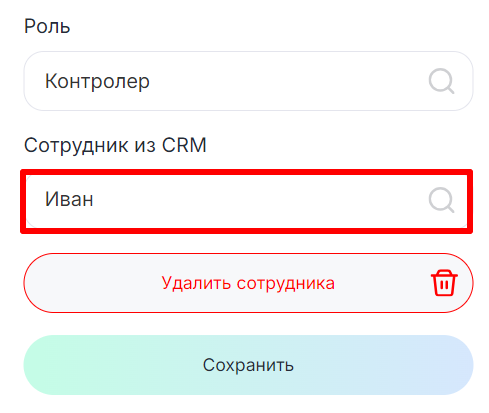
4. После внесения изменений нажмите «Сохранить».
5. Если понадобится удалить сотрудника, нажмите «Удалить сотрудника».