Бот ChatApp можно настроить на сбор подписок и отправку сообщений. Функционал бота позволяет отправлять пользователям предложение подписаться на рассылку или отписаться от нее, а также отправлять определенные сообщения при открытии или закрытии диалога.
Как включить сбор подписок ботом
- В Личном кабинете, в разделе «Бот» выберите нужного бота.
- Создайте новое условие — «Подписки на бота».

Поля бота, которые нужно заполнить:
- Ответ бота подписавшемуся клиенту — фраза, которую будет отправлять бот, когда клиент подписывается на тот или иной мессенджер. Например, можно указать поздравление или дарить какой-либо промокод на использование сервиса.
- Ответ бота отписавшемуся клиенту — фраза, которую бот отправит отписавшемуся клиенту. Например, можно постараться уговорить клиента остаться.
- Команда «подписаться» — команда, которую будет отправлять клиент, чтобы подписаться на рассылку. Можно задать любое слово, на которое будет реагировать бот. После получения команды от пользователя бот передает данные о клиенте на сервер, где его контакт заносится в базу подписавшихся клиентов.
- Команда «отписаться» — работает аналогично команде «подписаться» лишь с той разницей, что после получения команды бот передает информацию об исключении контакта пользователя из базы подписавшихся.
После заполнения полей сбора подписок нажмите на кнопку «Сохранить». После этого бот начнет собирать подписки в определенном мессенджере, в котором он работает.
Как отслеживать список подписчиков
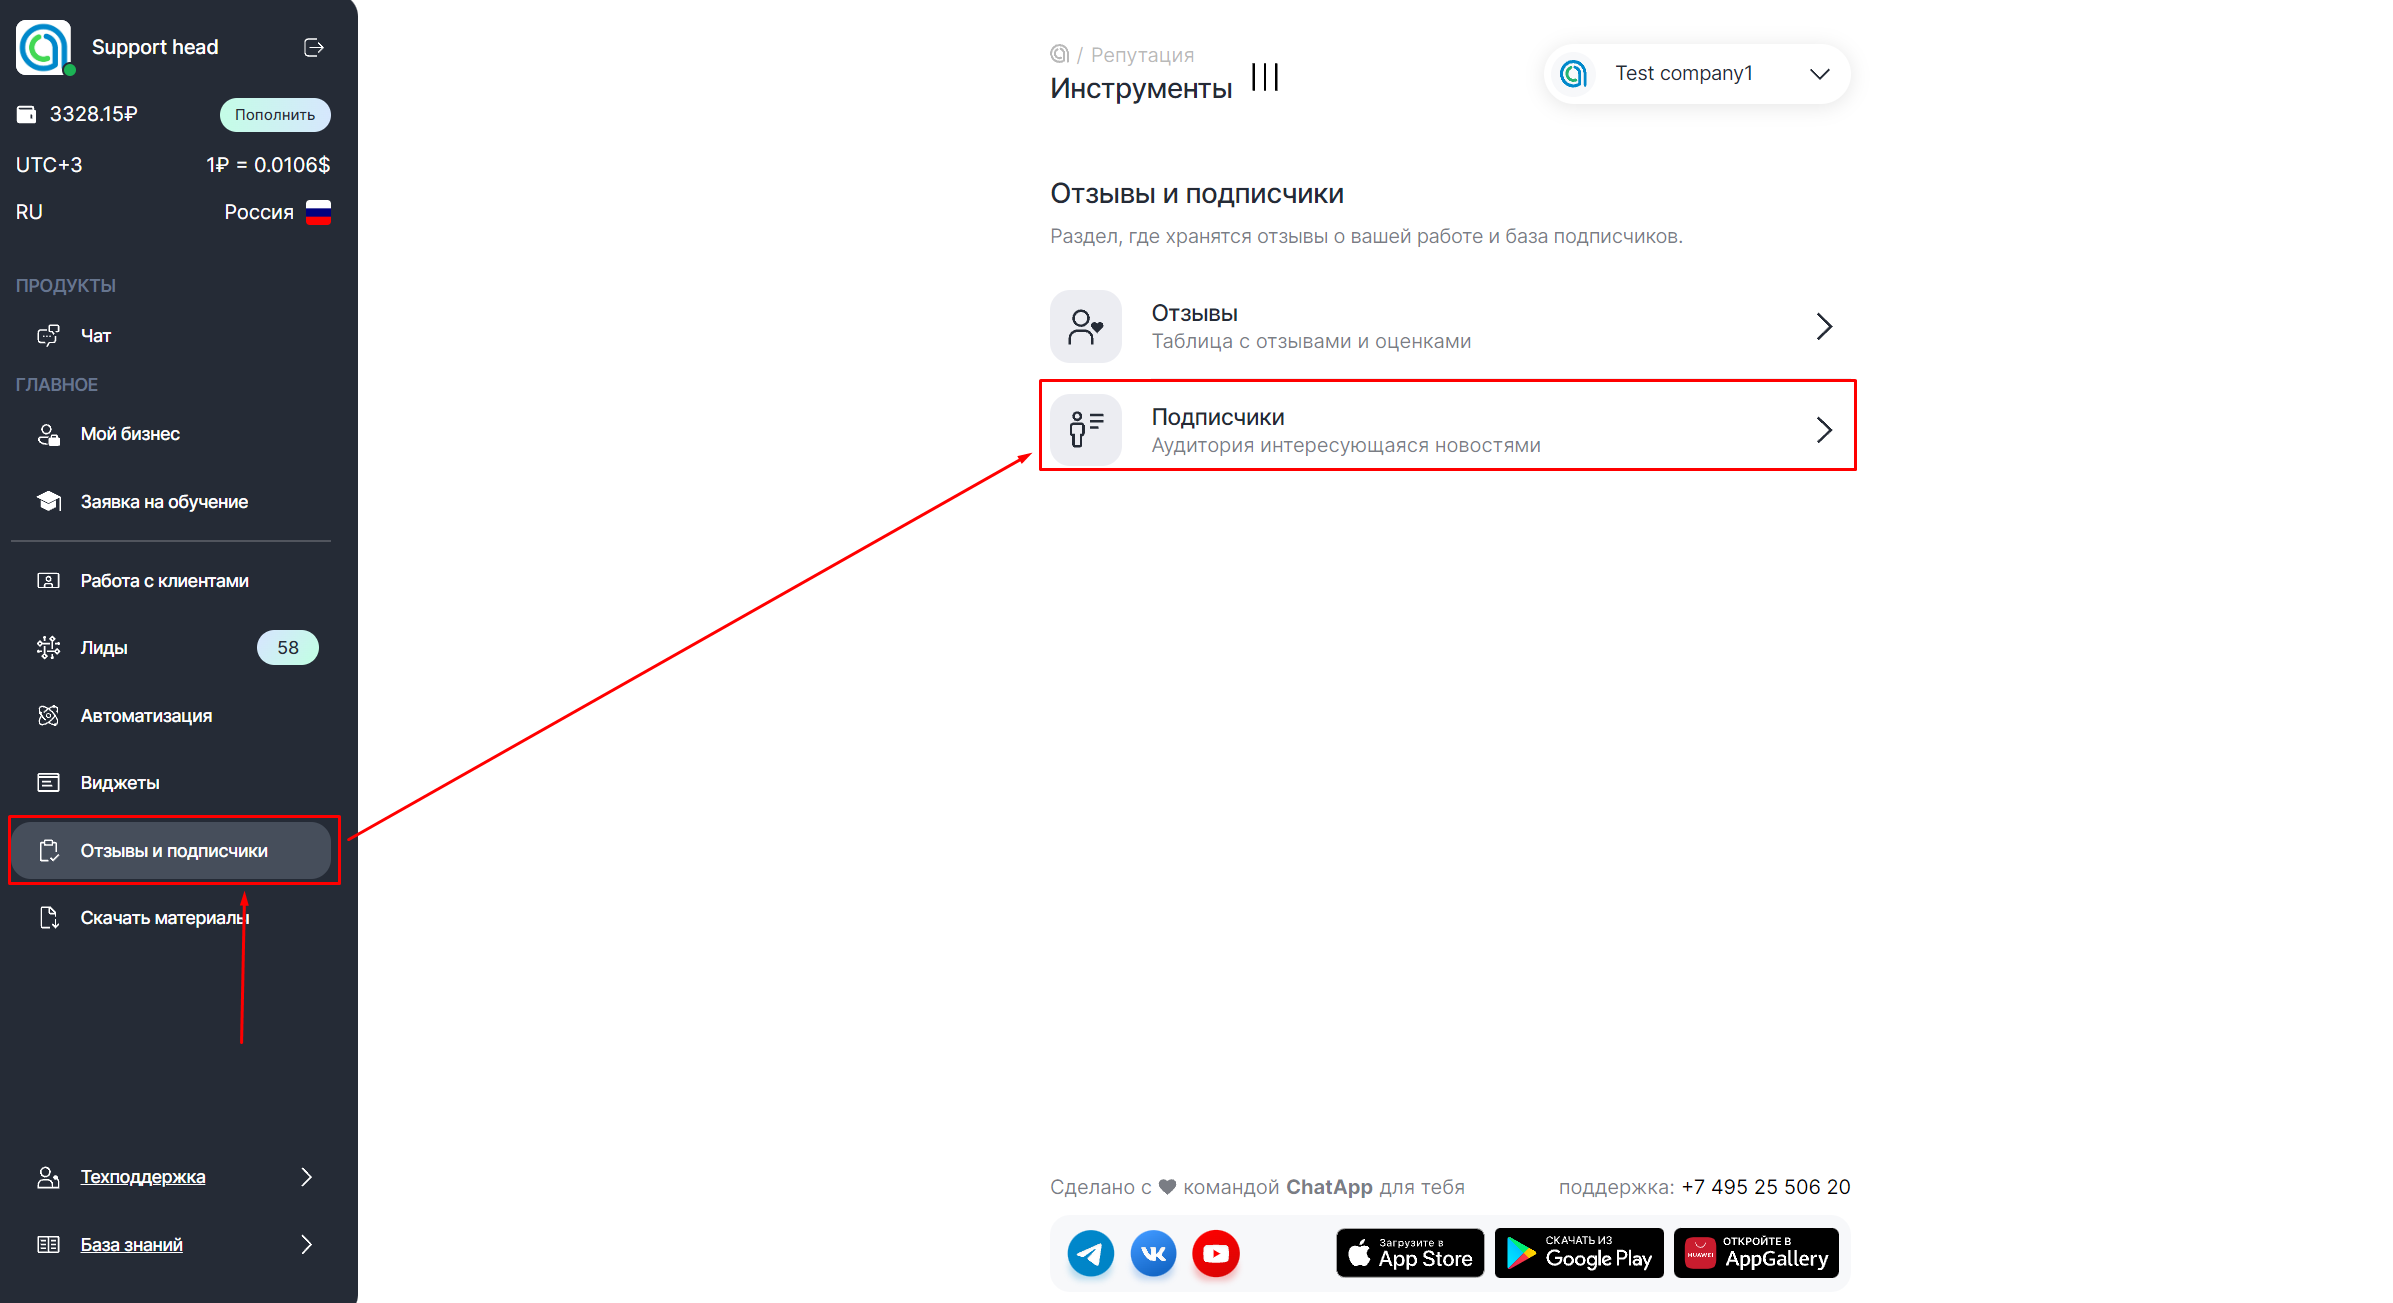
1. В меню выберите пункт «Отзывы и подписчики» и выберите «Подписчики».

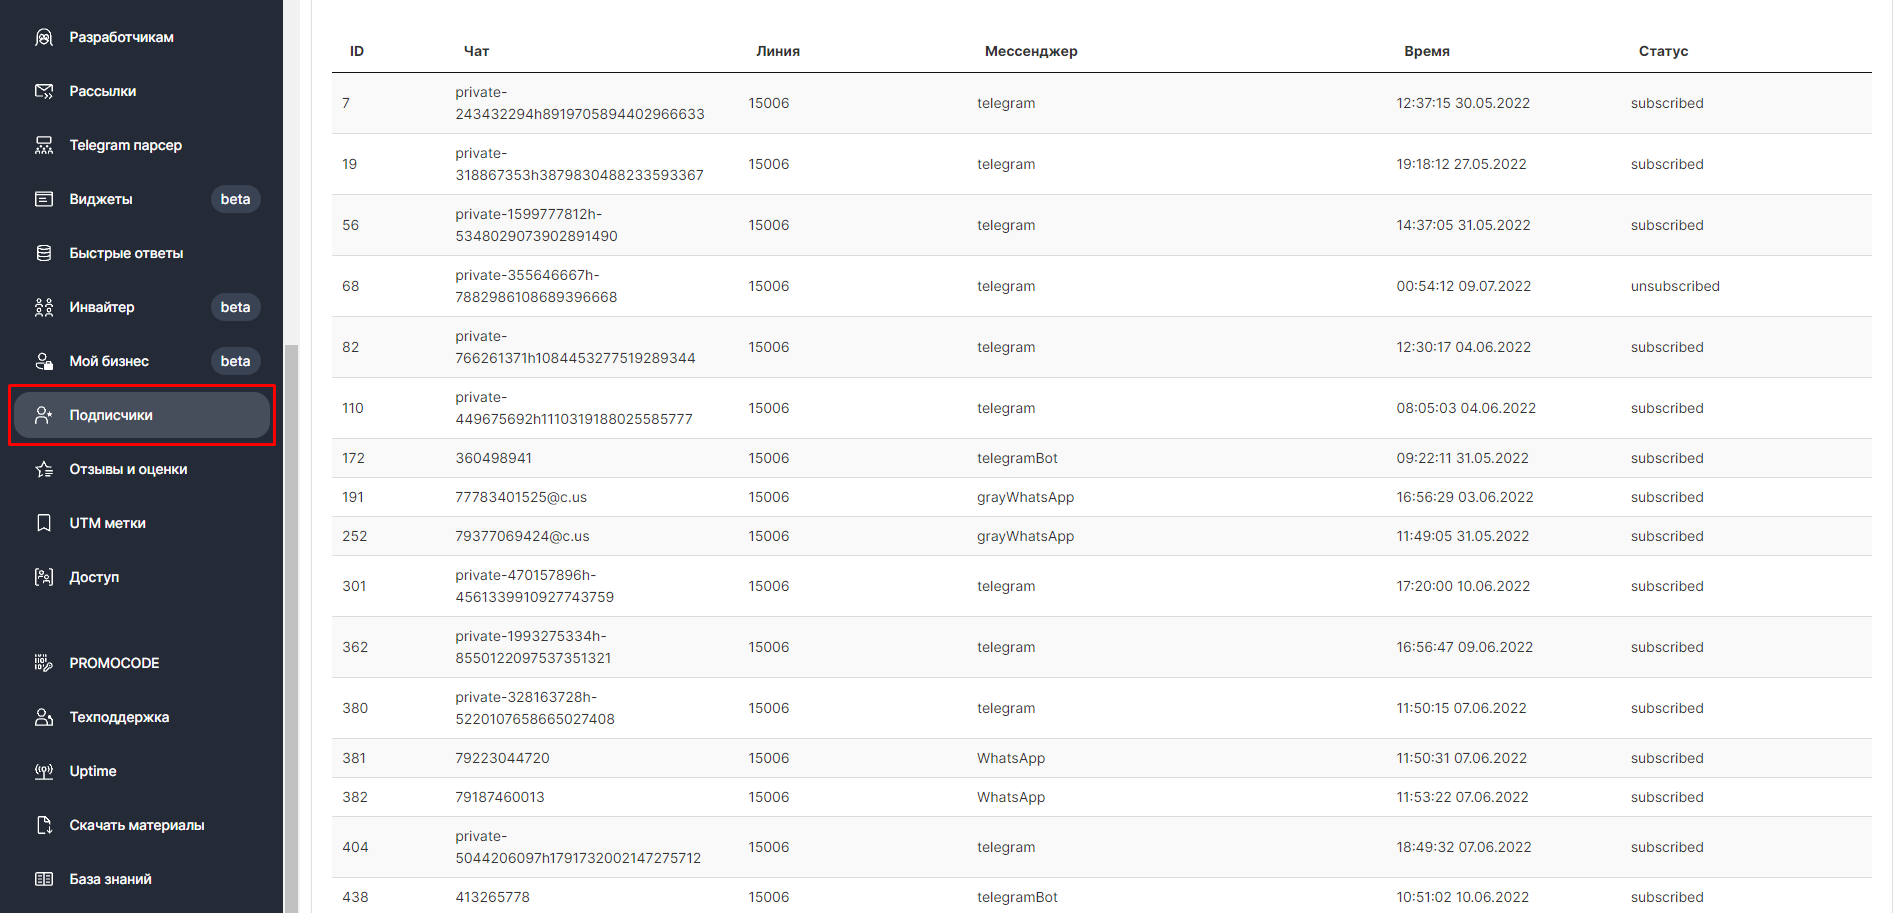
В таблице подписчиков закреплен ID подписчика; номер лицензии, которая использовалась при отправке предложения подписаться; мессенджер, через который была отправлена команда «/Подписаться» или «/Отписаться», а также статус.
