Шаг 1. Регистрация личного аккаунта
Для создания компании на Facebook* необходимы:
1. Личная страница
2. Корпоративная почта
Корпоративная электронная почта должна иметь то же доменное имя, что и сайт компании. Также убедитесь, что сайт вашей компании загружается и поддерживает протокол HTTPS.
3. Сайт компании
Шаг 2. Создайте компанию в Facebook Business Manager*
1. Авторизуйтесь в личном аккаунте Facebook*. В этом же браузере, не закрывая личную страницу, перейдите по ссылке Создание аккаунта Facebook Business Manager*
Нажмите кнопку «Создать аккаунт».


2. Заполните информацию о компании в точном соответствии с документами о регистрации компании.
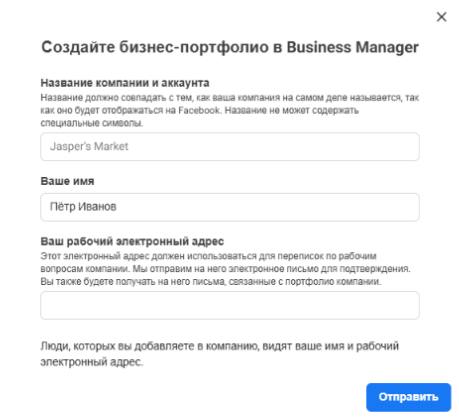
Нажмите кнопку «Отправить».
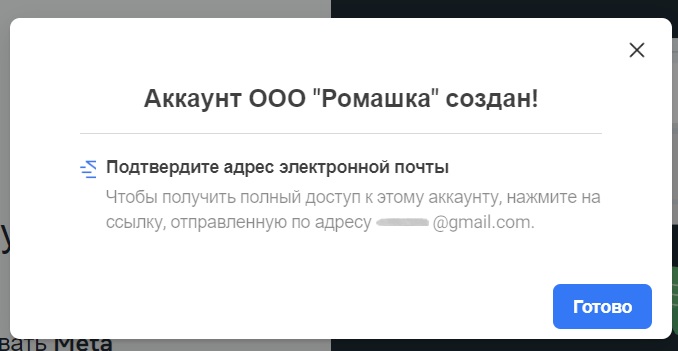
3. После отправки появится сообщение, что аккаунт создан и нужно подтвердить адрес электронной почты.

4. Зайдите на почту и нажмите на кнопку «Подтвердить» из письма. Подтвердите почту в том же браузере, где открыт Facebook*, чтобы избежать ошибок. Письмо может попасть в папку «Социальные сети».
Шаг 3. Заполнение информации о компании
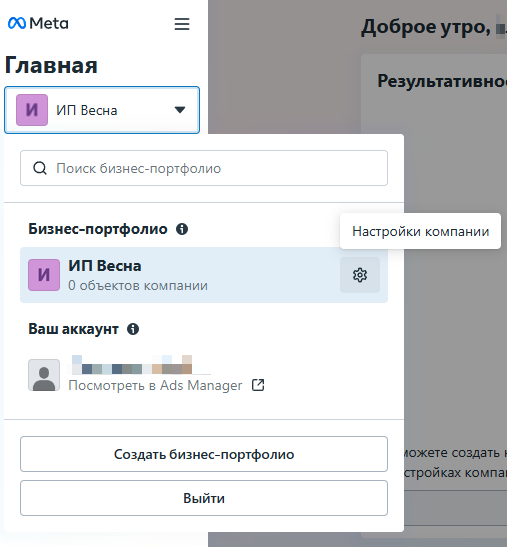
1. Чтобы открыть поле заполнения информации о компании, на Главной нажмите на плашку с названием компании → символ настроек справа от названия.
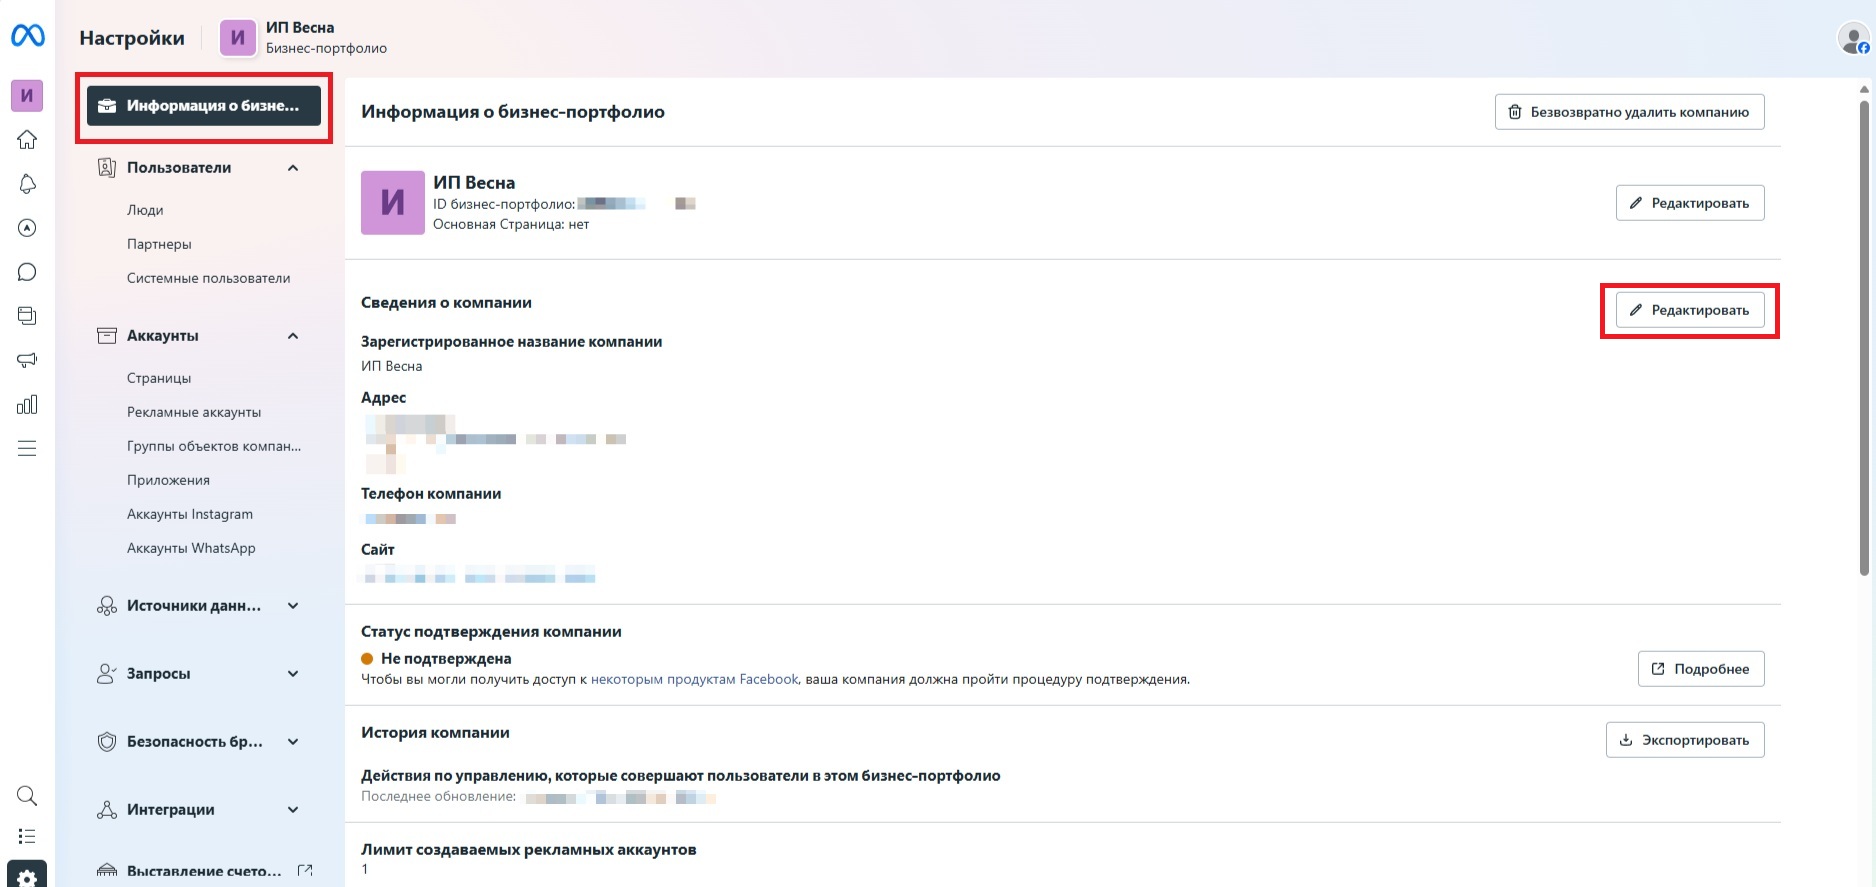
2. В меню управления слева найдите пункт «Информация о бизнес-портфолио». Откроется вкладка со сведениями о компании.
Заполните данные об организации.
Проверьте, чтобы отправляемая информация точно совпадала с официальными данными вашей компании.
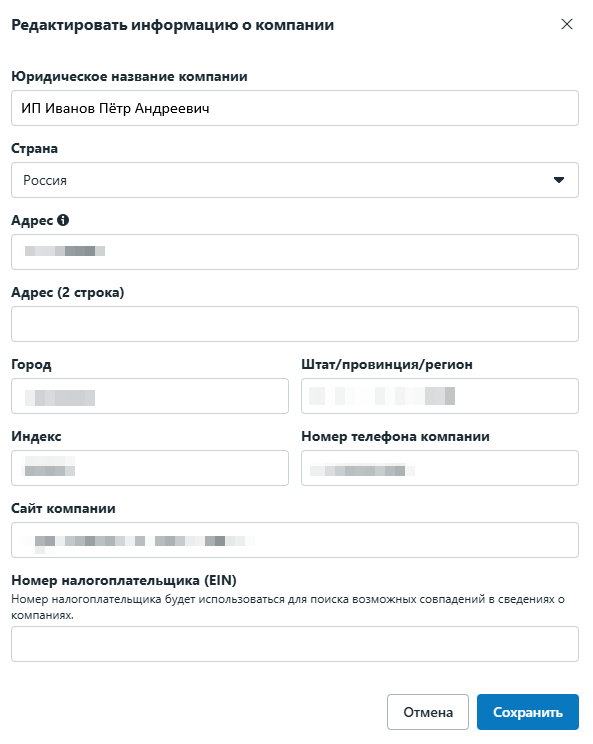
Заполните поля:
«Название» — как указано в документах о регистрации компании. Если это ИП, юридическое название компании – ИП ФИО.
«Адрес, строка 1», «Город», «Штат/провинция/регион», «Индекс» — в полном соответствии с юридическим адресом компании, указанным в документах о регистрации.
«Номер телефона компании» — который принадлежит данному юридическому лицу.
«Сайт компании» — адрес веб-сайта компании. Домен сайта должен совпадать с доменом адреса электронной почты компании.
Для подключения WhatsApp Business API перейдите на сайт ChatApp – Решения – WhatsApp Business API – Подключить – Оставьте заявку на подключение. Менеджер свяжется с вами.
*Facebook принадлежит Meta, деятельность организации признана экстремистской и запрещена на территории Российской Федерации